Designed for impact
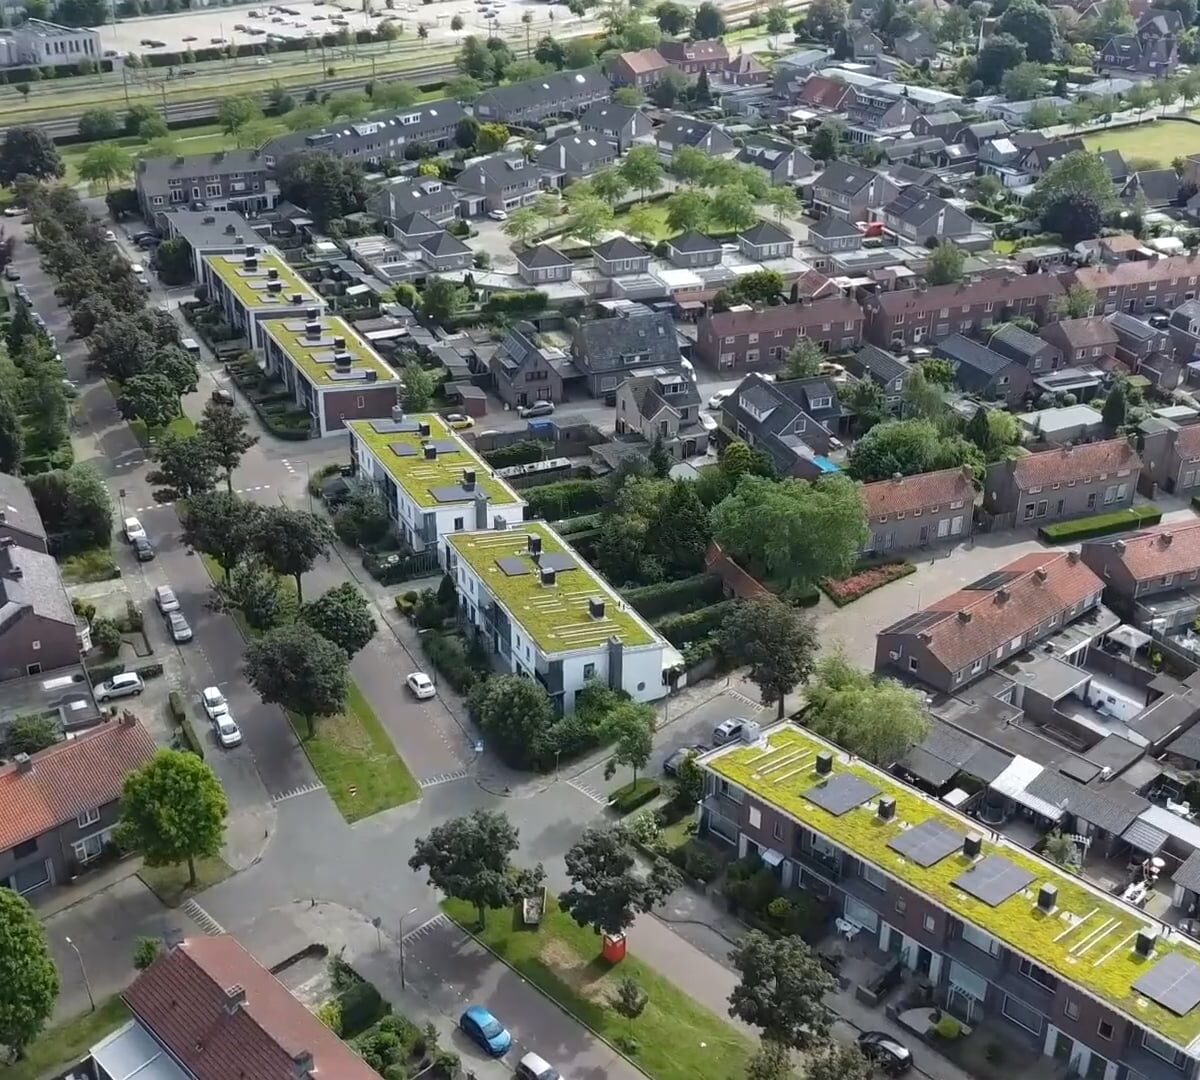
Every green roof improves climate resilience, reduces heat stress and turns grey surfaces into living systems.
Every roof is unique. Sempergreen offers complete green roof systems for living, durable and urban projects, we provide the right solution for every challenge. With measurable benefits for people and the environment all around the world.
Every green roof improves climate resilience, reduces heat stress and turns grey surfaces into living systems.
With decades of experience and proven systems worldwide, our green roofs deliver reliable performance you can count on.
Green roofs create habitats that bring back bees, butterflies and birds, restoring balance in the heart of the city.
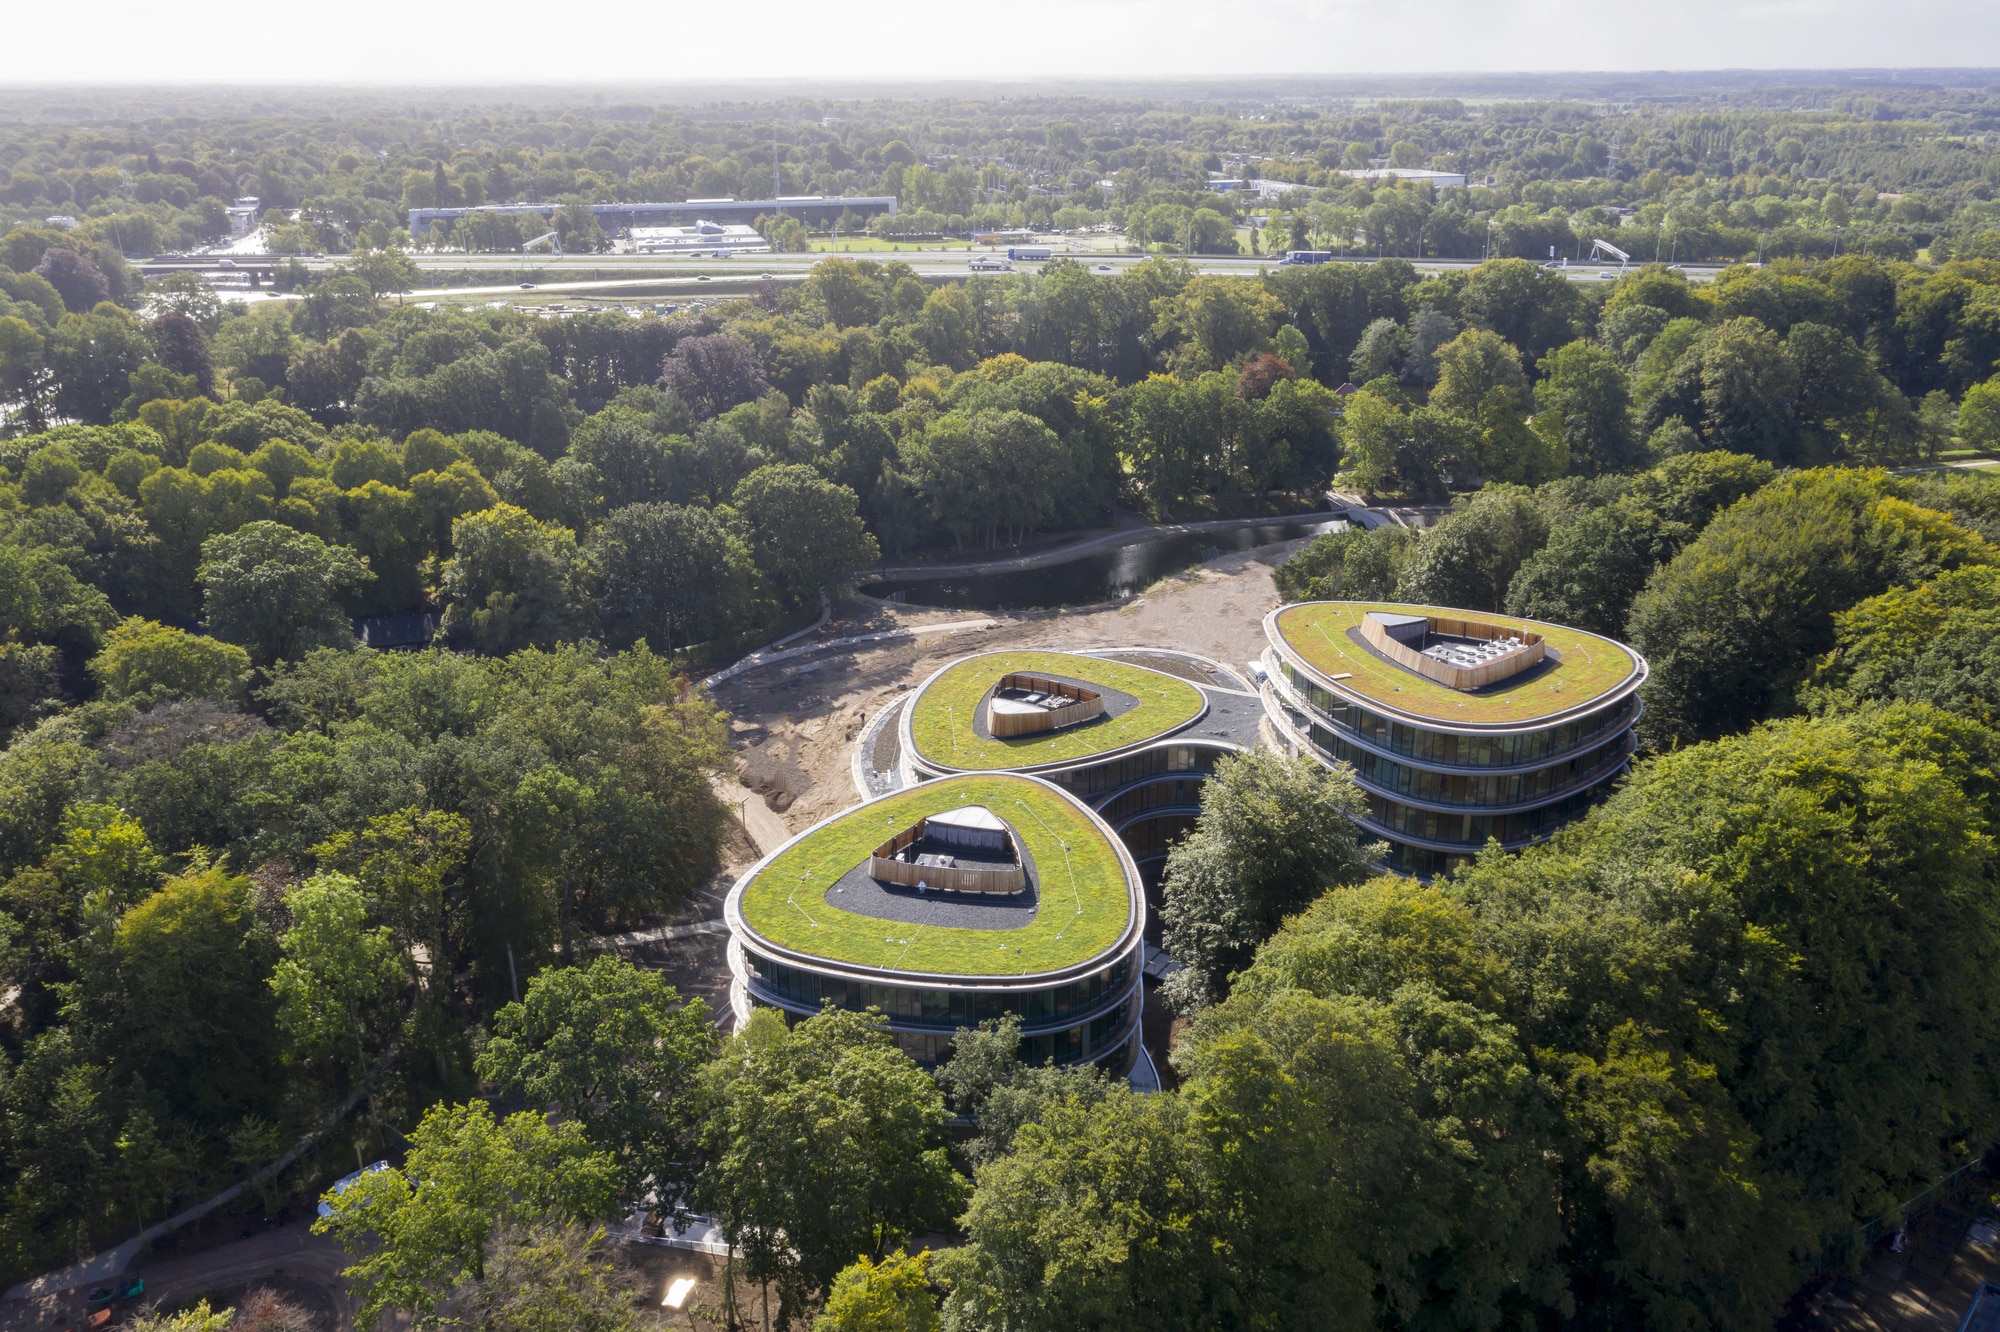
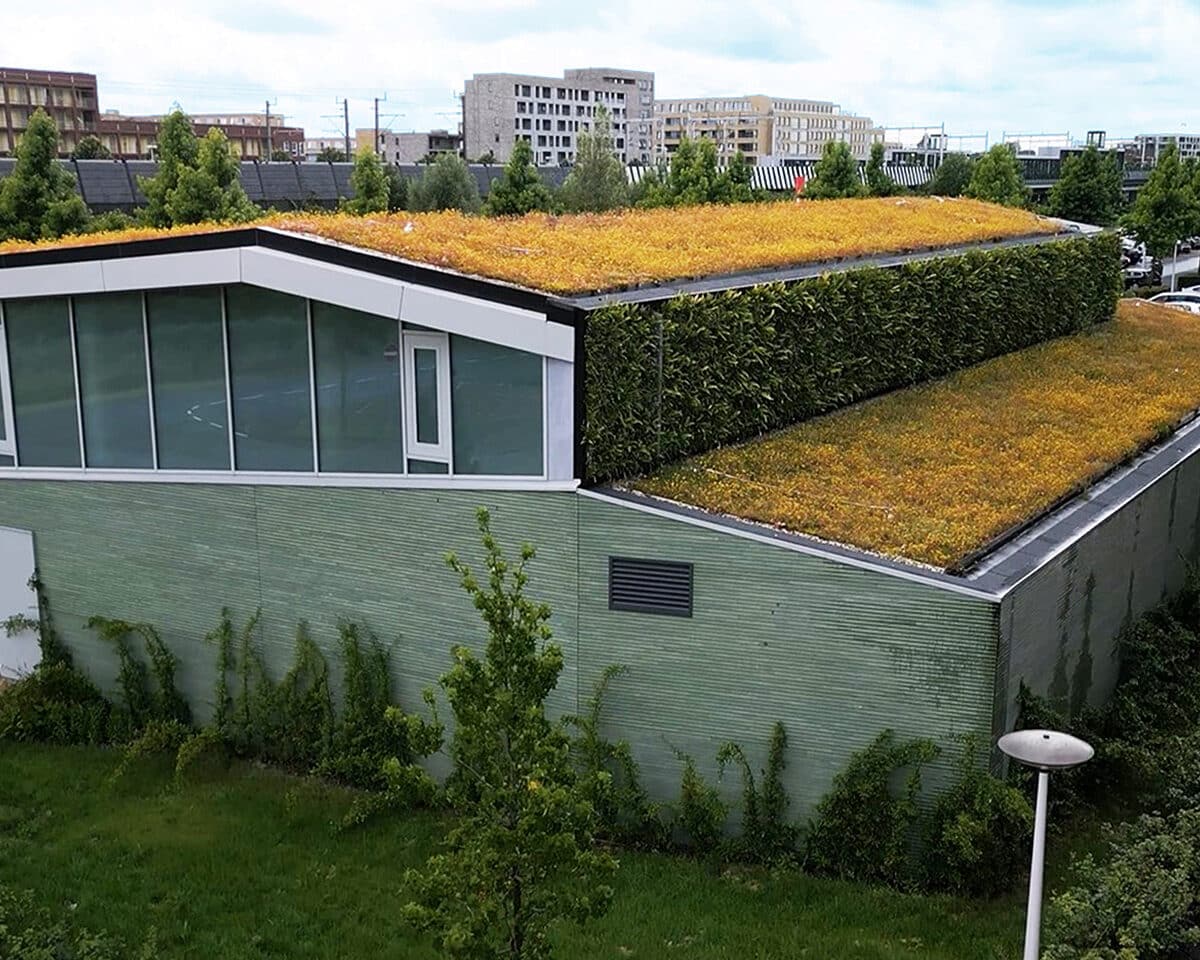
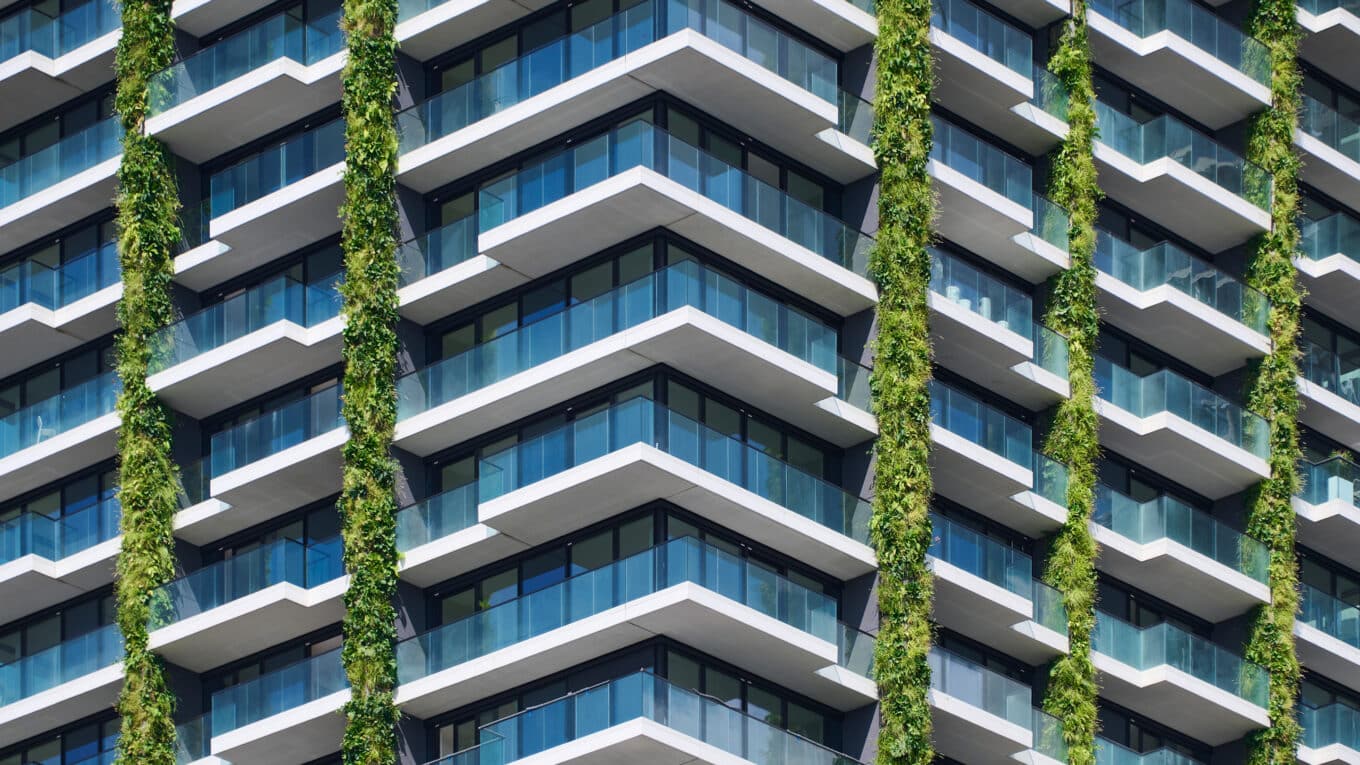
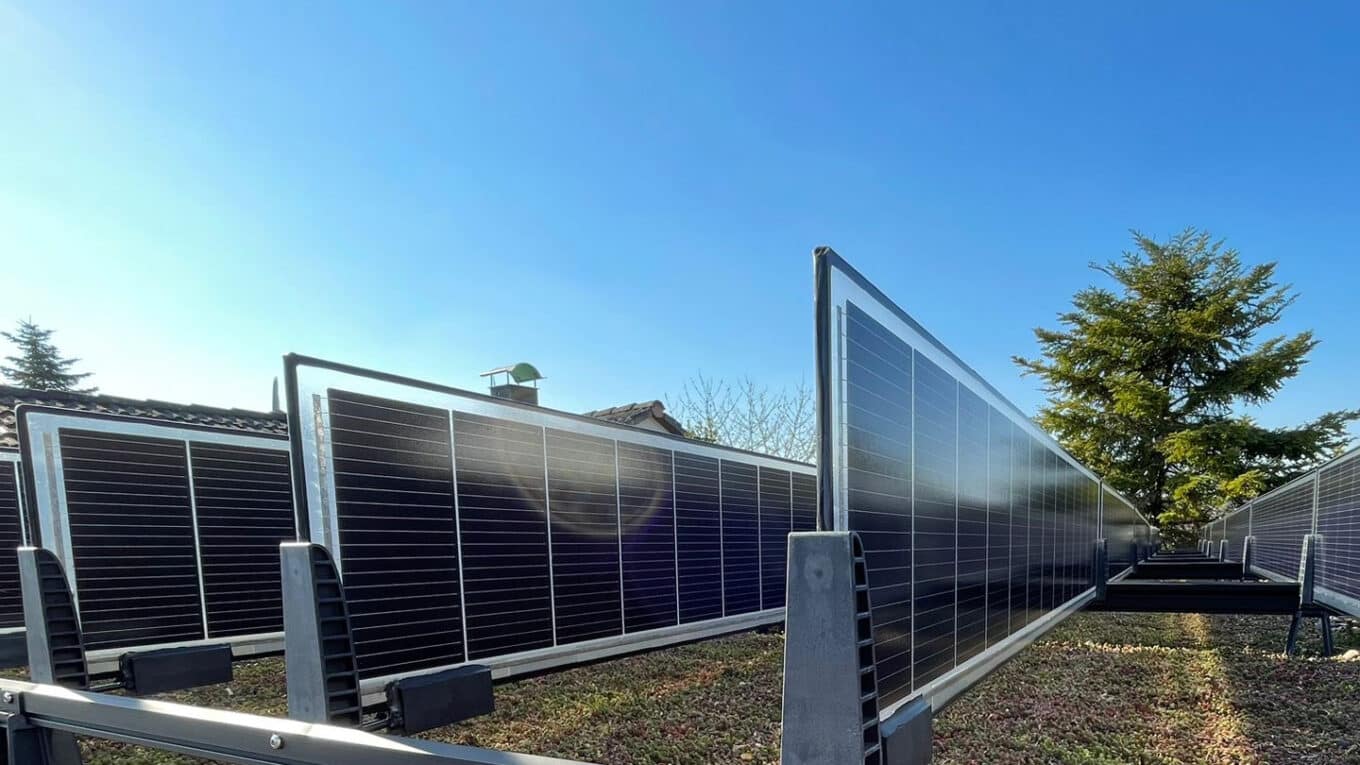
Our green roof systems transform rooftops into climate solutions. They retain rainwater, cool cities, enhance biodiversity and even boost solar performance. Each system is carefully engineered for durability and designed to make every square meter count for people and the planet.


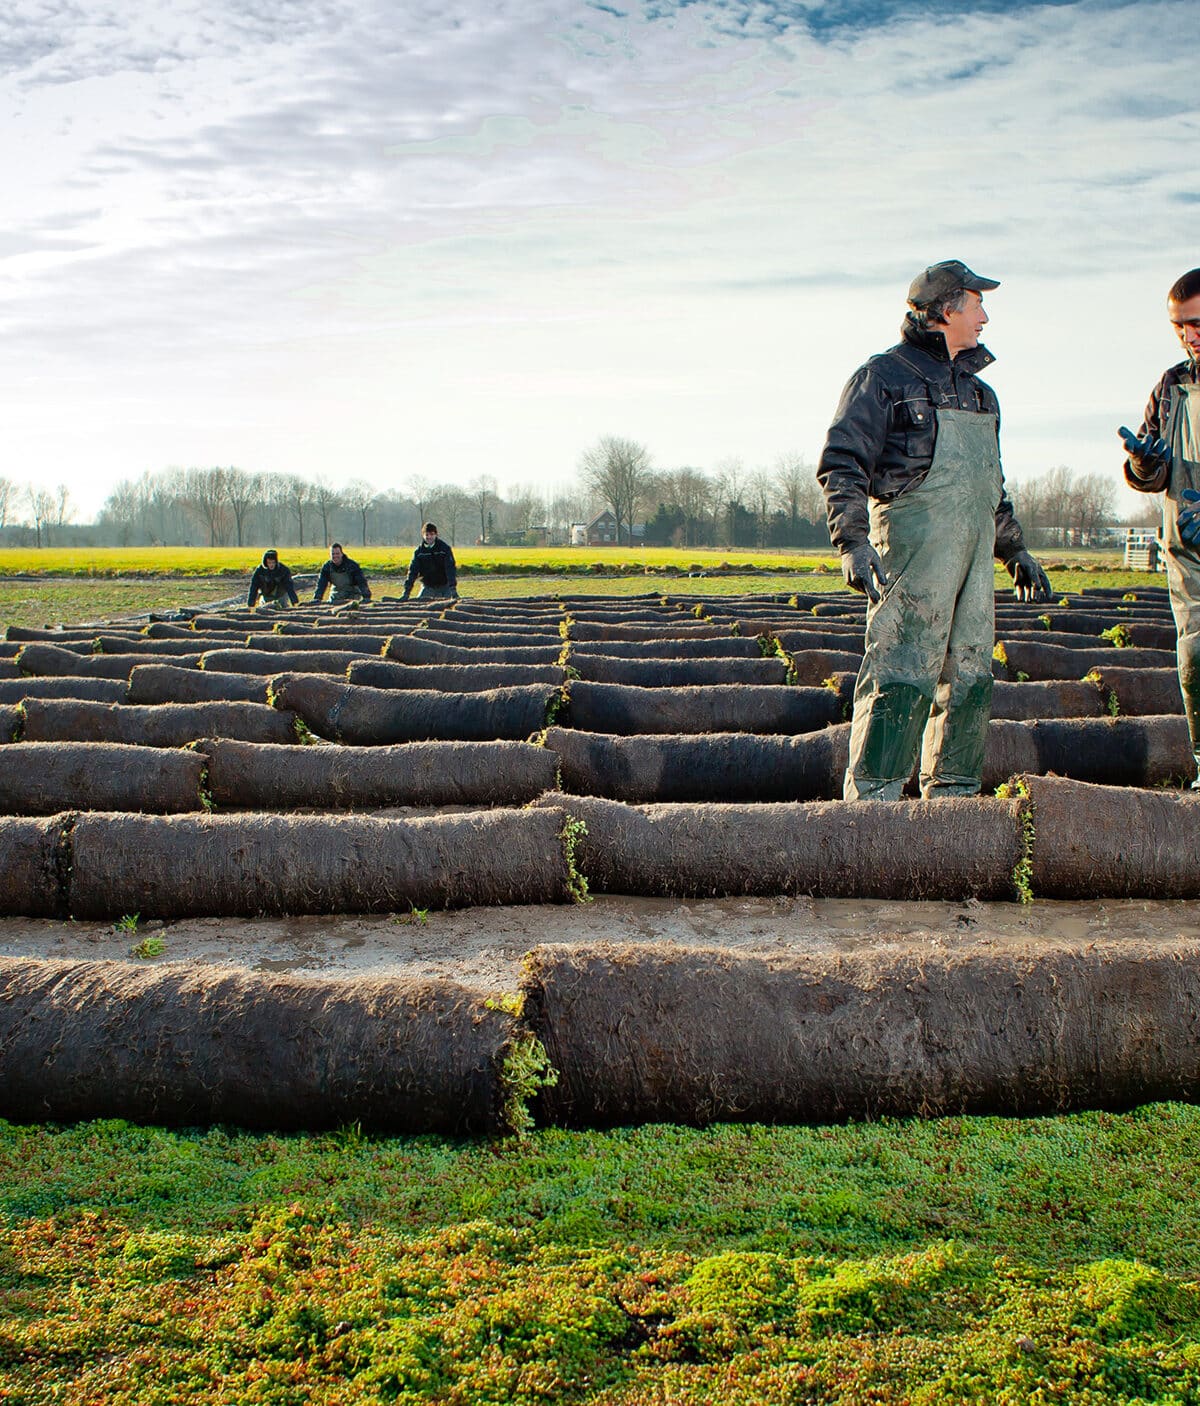
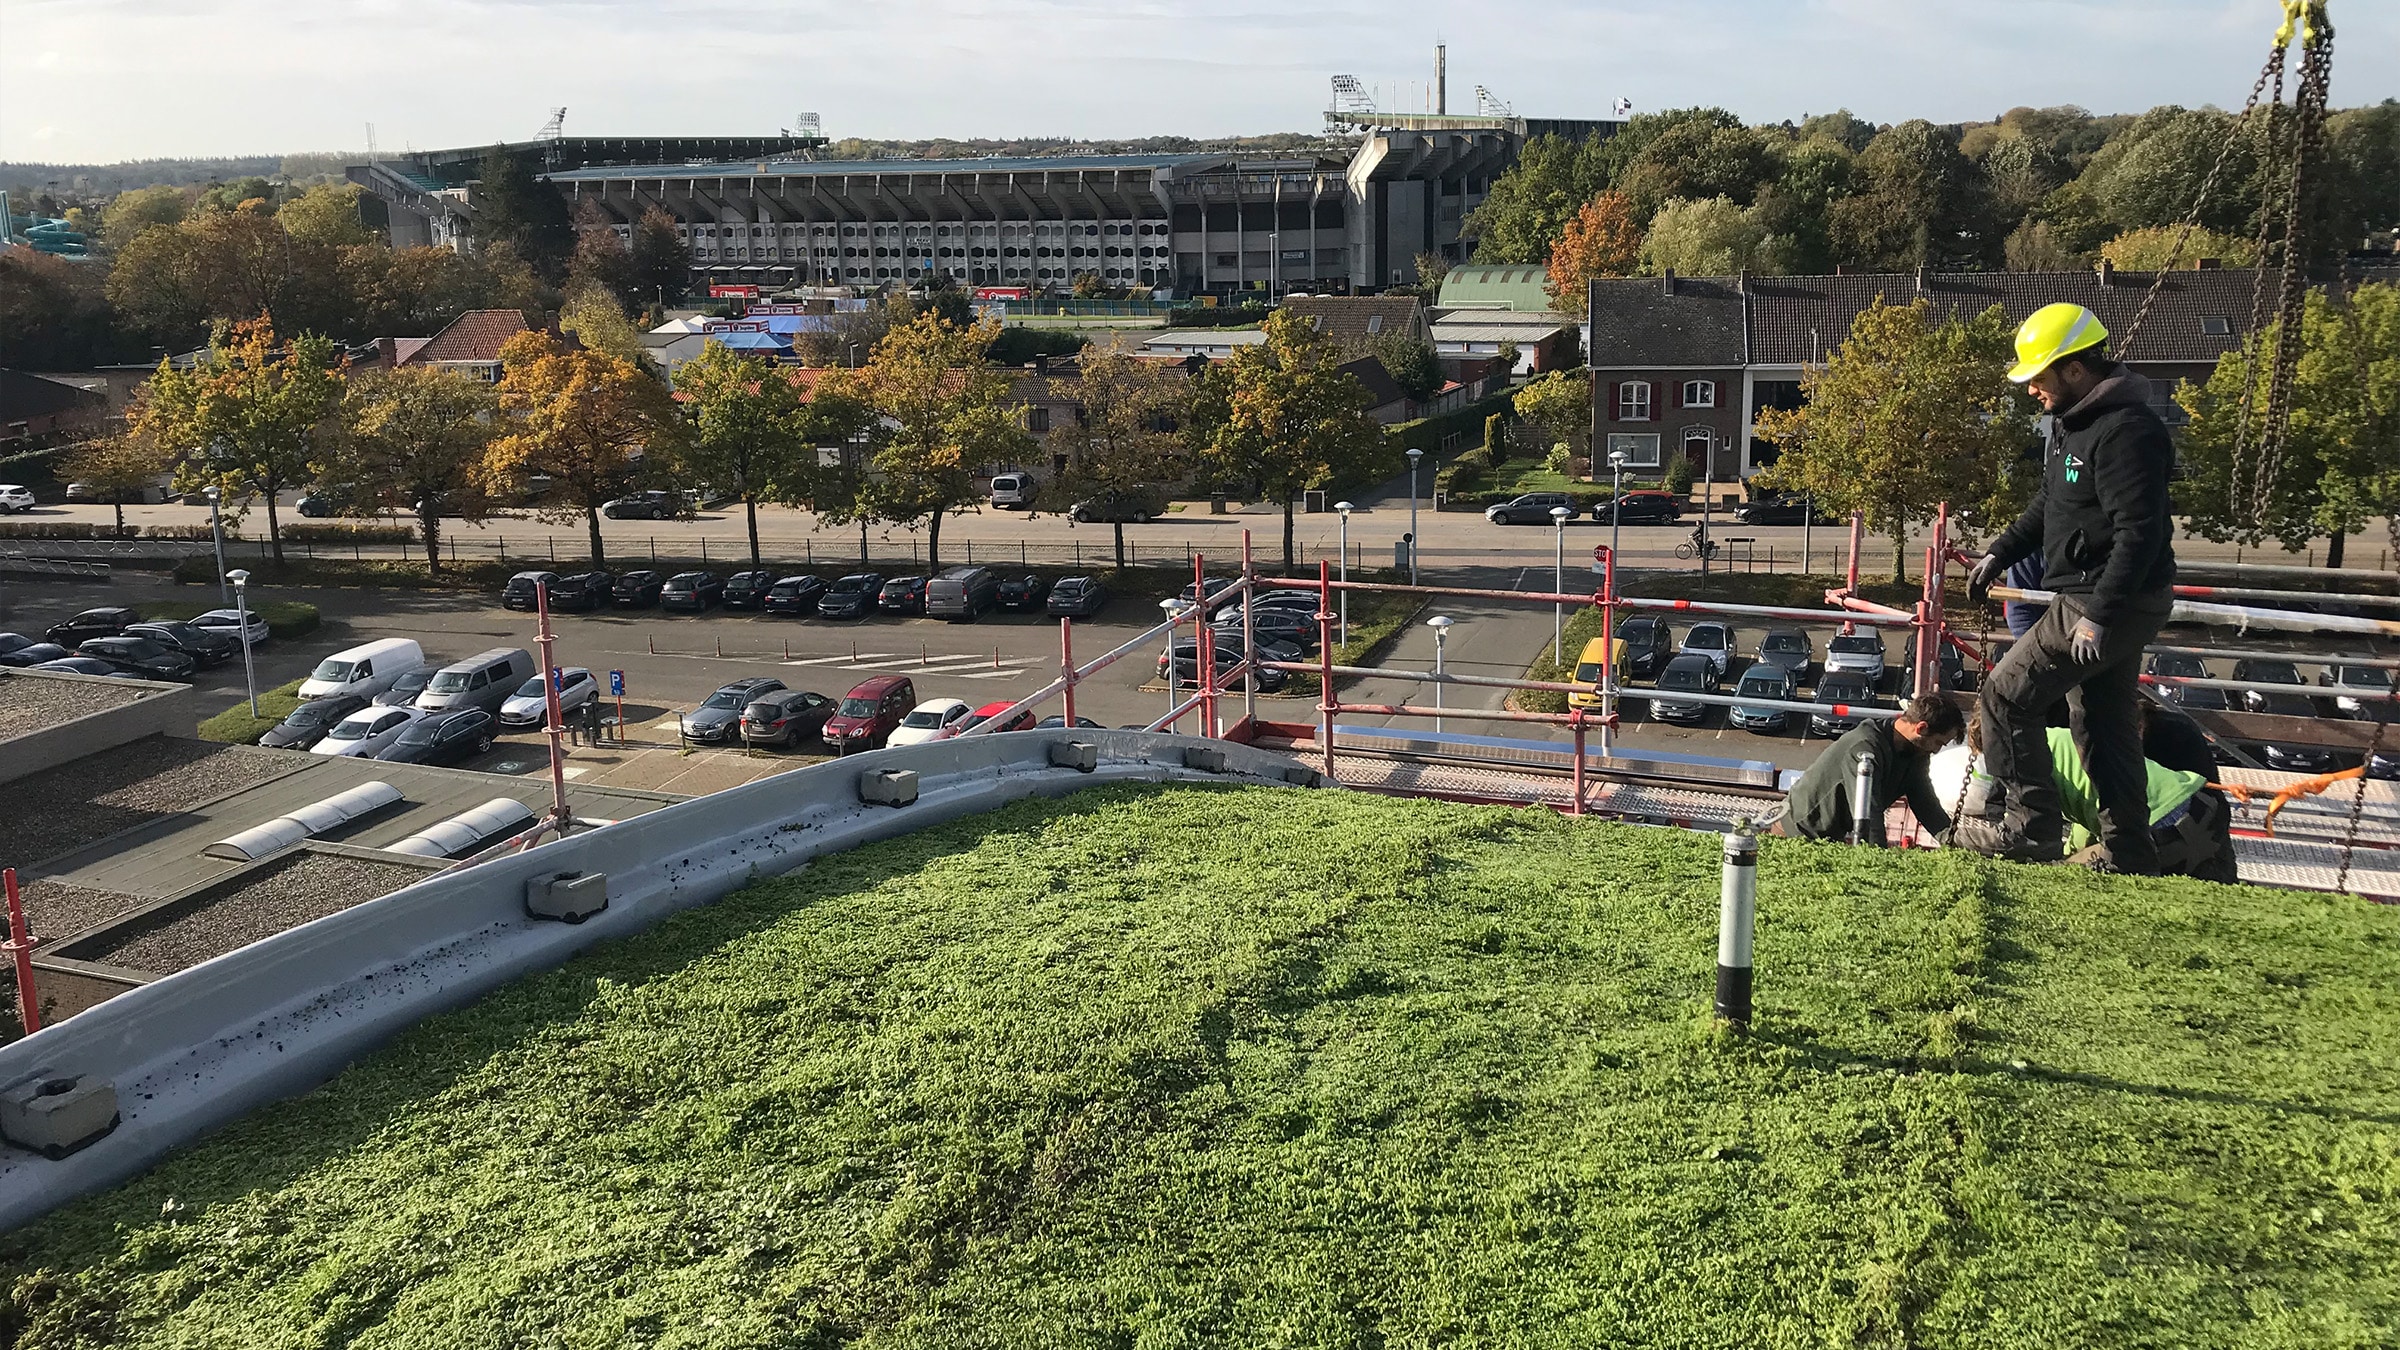
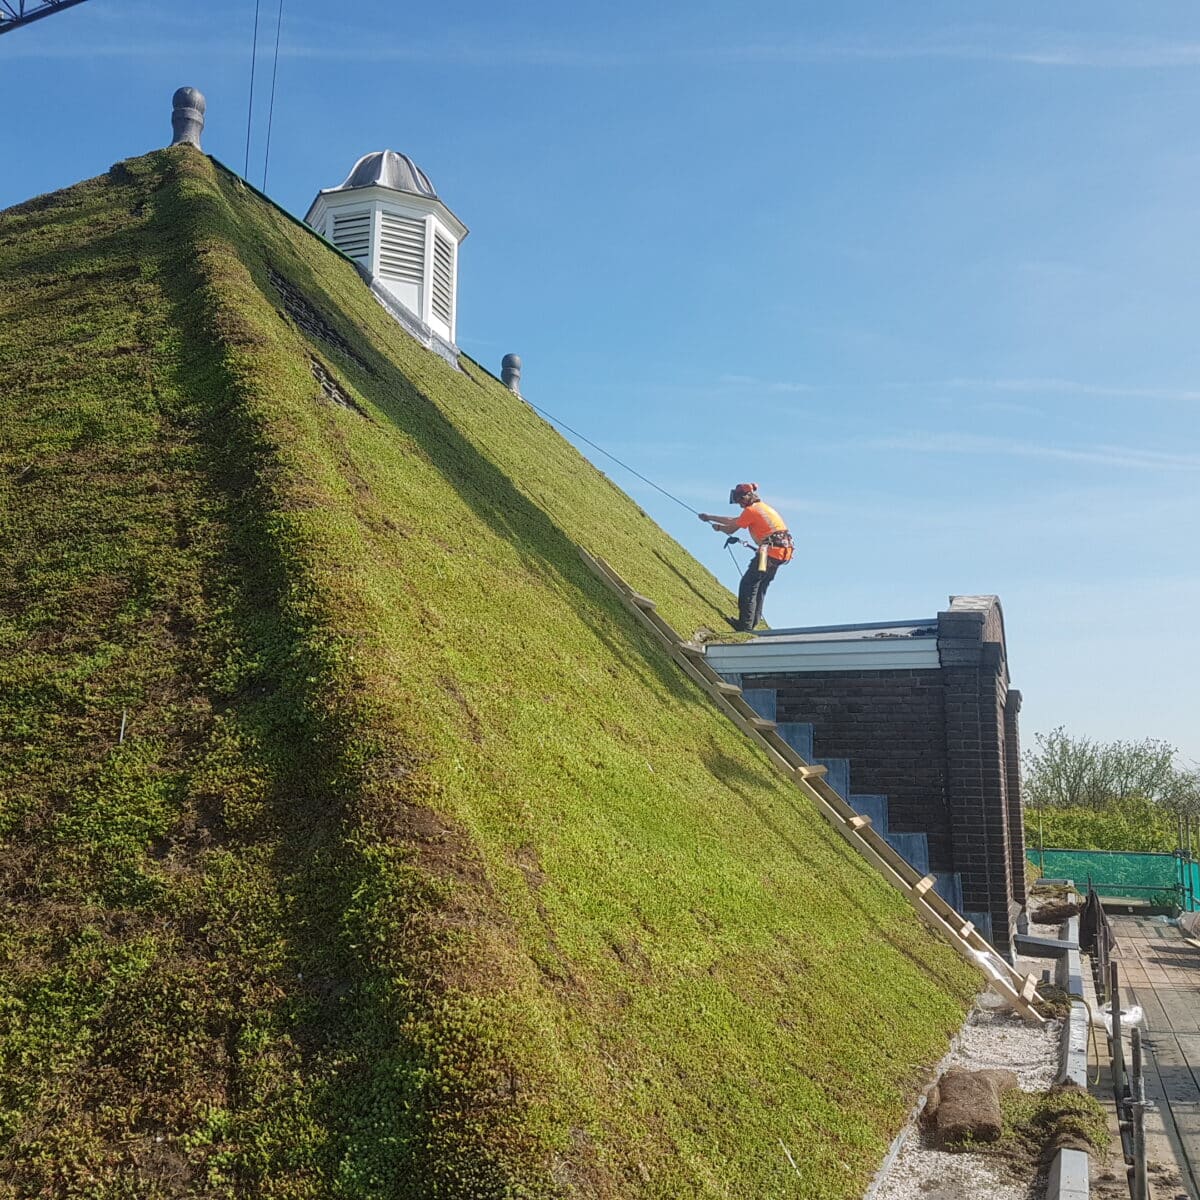
At Sempergreen, we grow ourselves, directly from our nurseries all around the world. Locally grown with a minimum footprint. With decades of experience and carefully selected varieties, we deliver vegetation blankets that are always at least 95% covered. This means every project has a fully green roof from day one. Our blankets are low-maintenance, and easy to install. By growing locally, we guarantee consistent quality and plants that withstand drought and extreme weather conditions. A green roof from Sempergreen is the reliable, sustainable and instant green choice.
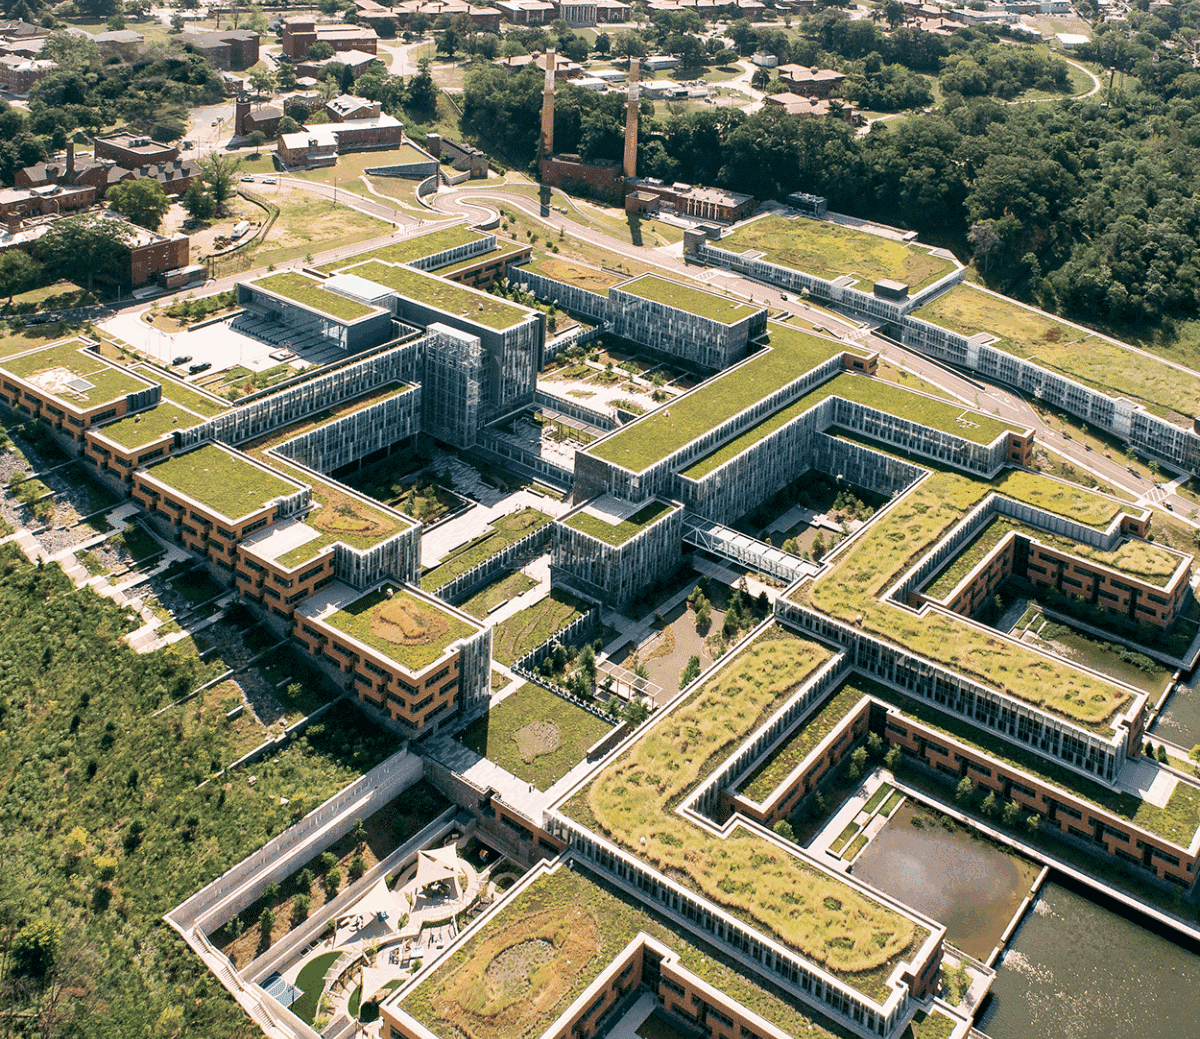
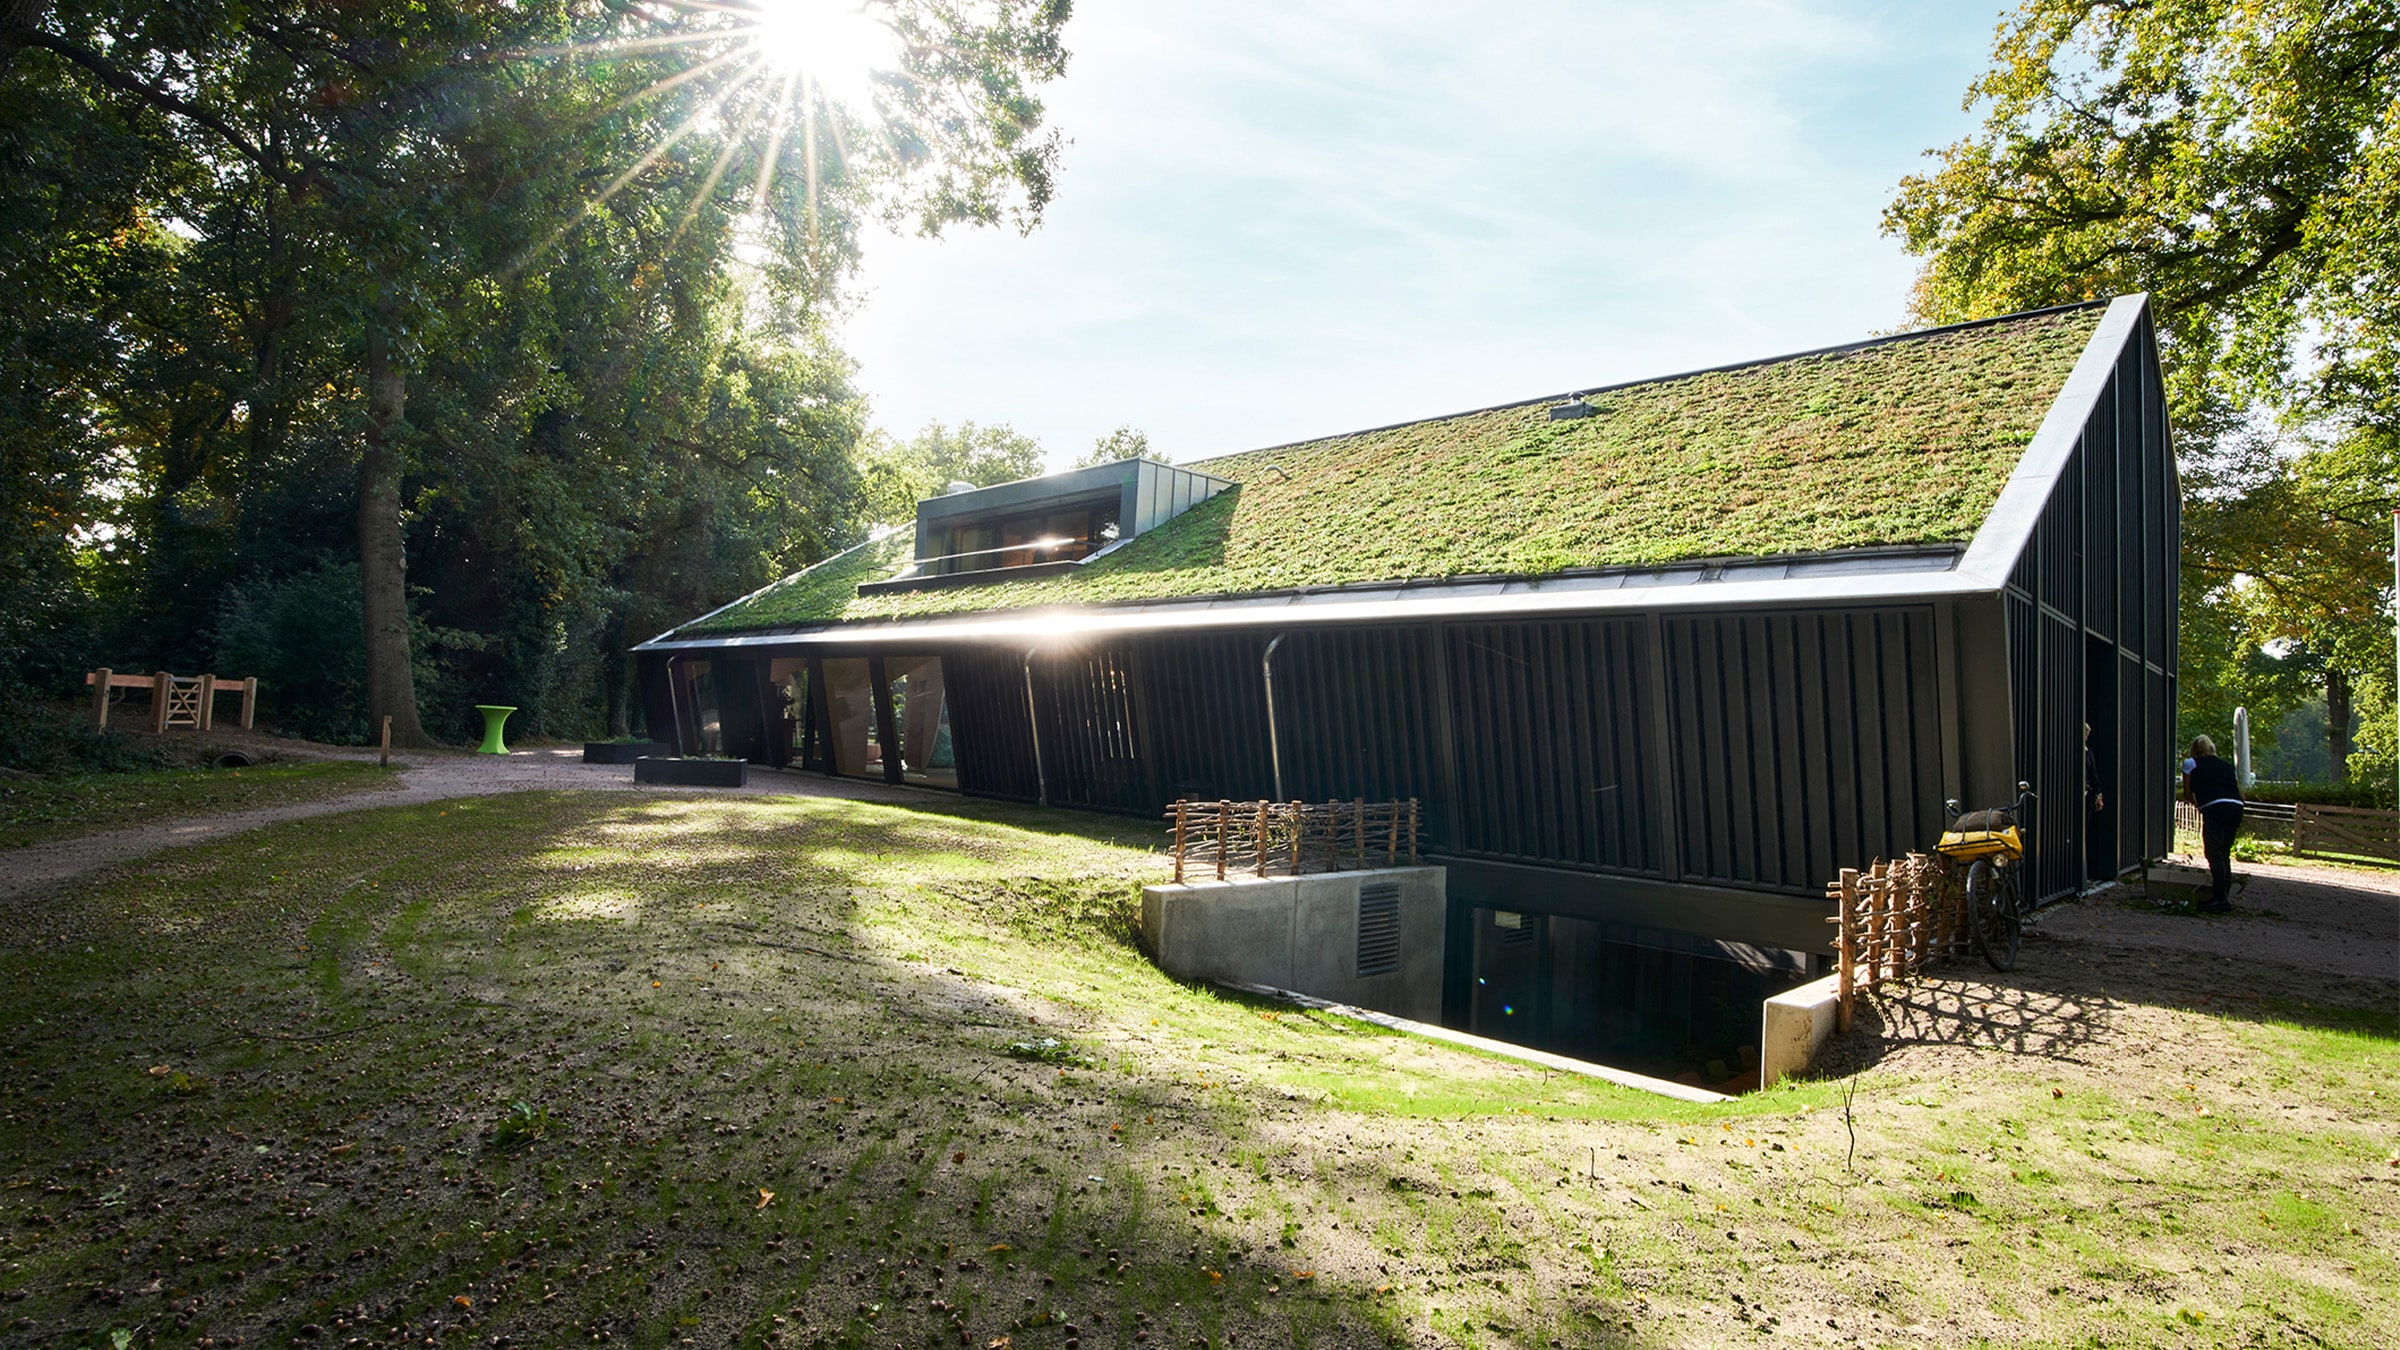
At Sempergreen you get everything under one green roof. We take care of the complete build-up from protection fleece and drainage to substrate and our own vegetation blankets. Every system is designed for a strong and durable result, instantly green and low maintenance. Whether it’s a traditional sedum roof, a blue green roof or an innovative combination with solar panels, we provide a total solution tailored to your project. With one choice, you make every roof and city greener and ready for the future.
Feeling a bit overgrown with ideas? Don’t worry! We’ll help you find the right solution for your project. With just a few quick questions we’ll help you find the right approach and system for your project. You’ll receive customised advice to make green work for you.
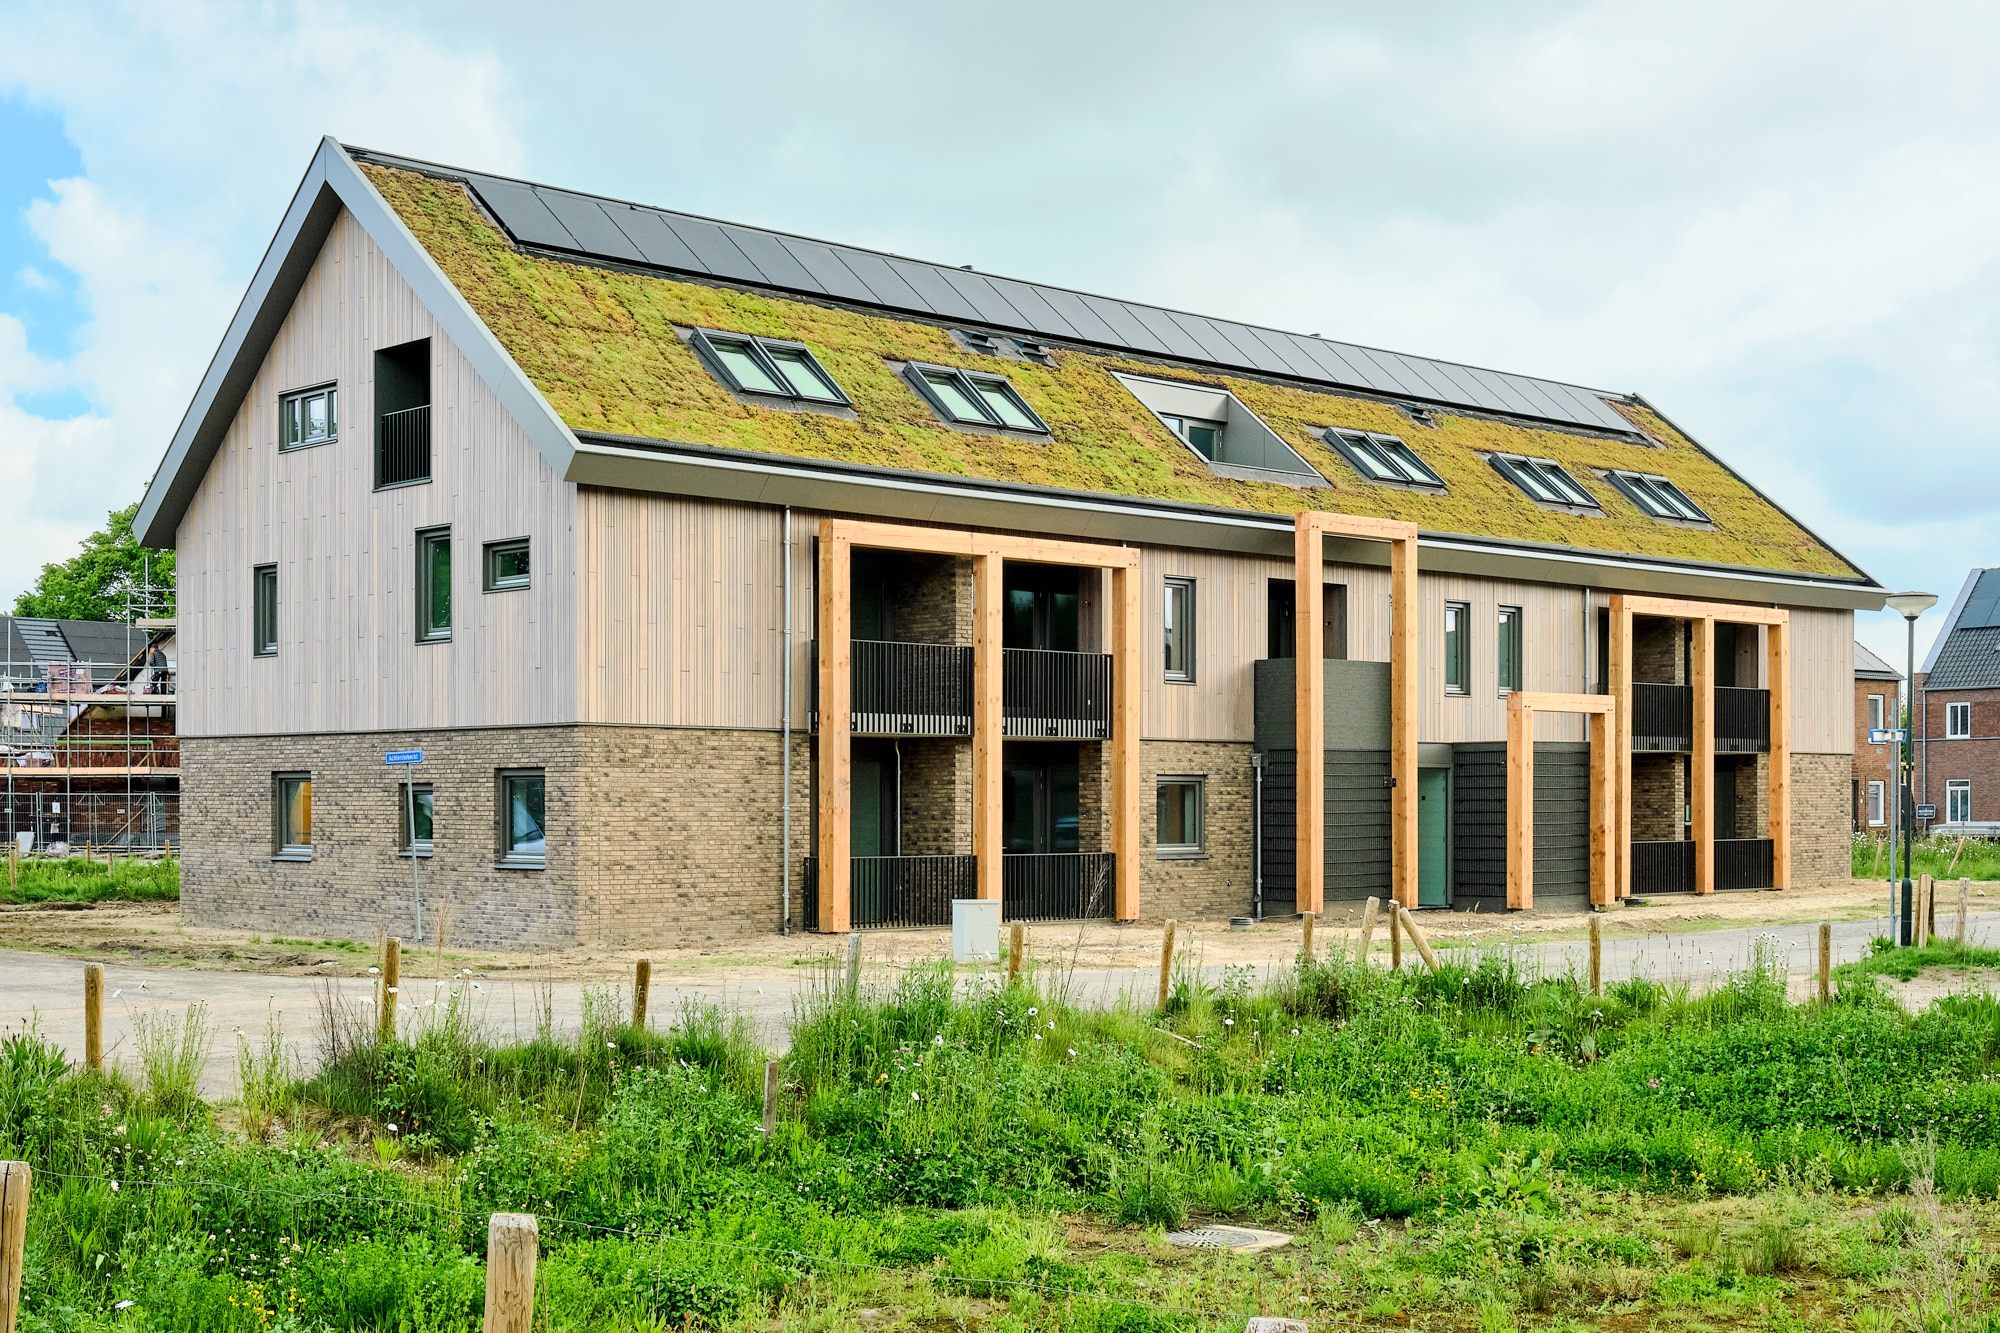
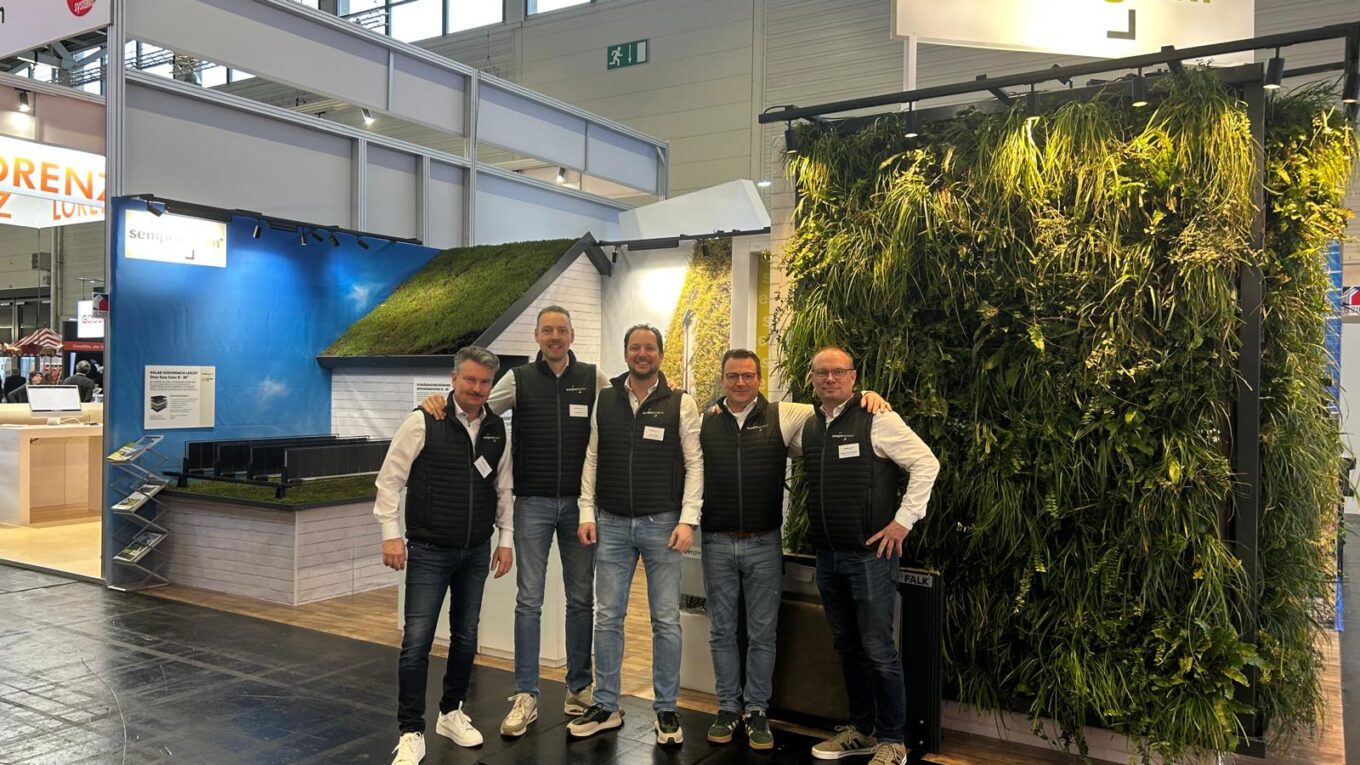
Circular thinking meets green innovation. Sempergreen and FALK Bouwsystemen, both Dutch market leaders in their fields, joined forces to develop future-proof roof and façade systems that combine insulation with vegetation. FALK’s circular sandwich panels form the perfect base for Sempergreen’s green roofs and living walls, creating building envelopes that are both energy-efficient and nature-inclusive. Together we’re translating circular ambitions into practical solutions. A collaboration that makes it easier than ever to design buildings that are green, durable and ready for 2050.
With our global network of partners, we create green roofs that retain water, boost biodiversity and bring nature back into cities. Every project brings us closer to replanting the planet.
With our own nurseries ,we green the world roof by roof. Every meter counts driven by our mission Replanting the planet.
Our specialists bring decades of experience to every project, offering tailored advice together with our trusted partners worldwide.
As growers, we understand what plants needs. Every roof is perfectly attuned to the plants, ensuring lasting quality.
Discover articles and case studies on green roofs. From technical know-how and plant care to design inspiration, sustainability and business benefits. Explore how vertical greenery transforms buildings and cities worldwide.

Curious about our green roofs? Here you’ll find the most frequently asked questions. Want to know more? Contact us directly with one click.
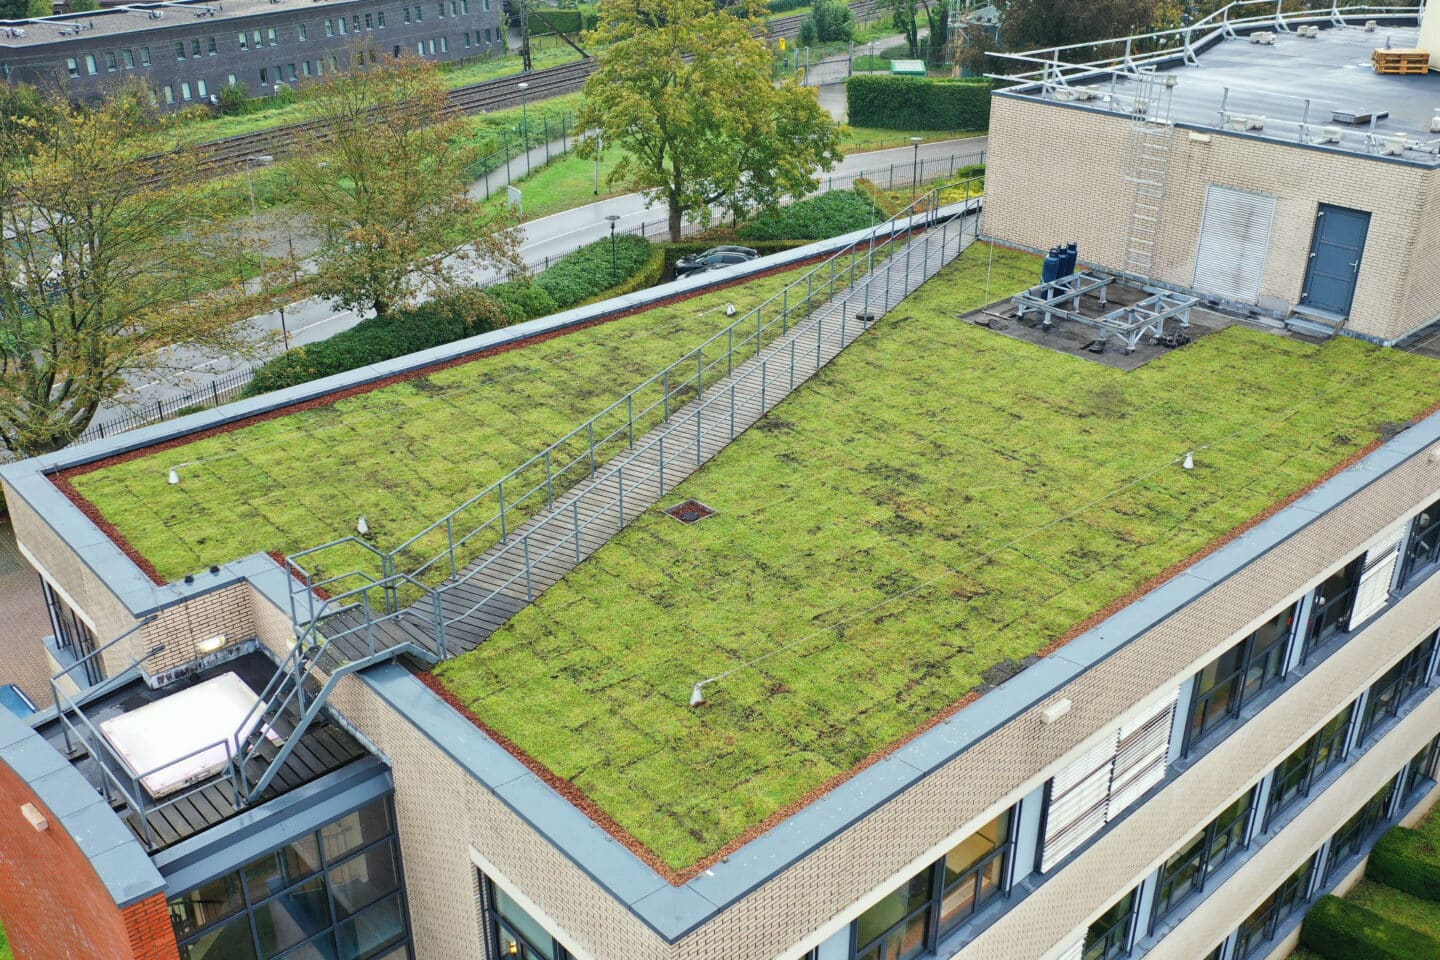
A green roof is a flat or pitched roof covered with vegetation, such as Sedum, herbs, or ornamental grasses. A green roof is also known as a vegetated roof, roof garden, or living roof. There are different types, each with its own structure, appearance, functionality, and benefits. Common variants are extensive (lightweight) green roofs and intensive (roof garden) green roofs.
An extensive green roof consists of a thin substrate layer (max. 15 cm) with a drainage layer underneath. This makes the system lightweight and relatively affordable.
Extensive green roofs are often planted with Sedum species, sometimes supplemented with herbs and flowers, such as in the Biodiverse green roof. Due to the thin build-up, these are classified as extensive or semi-extensive.
An intensive green roof, also known as a roof garden, has a thicker substrate layer (25 cm or more). This allows for planting shrubs and even trees, but it also makes the system heavier and more expensive.
A green roof offers many benefits: it retains water, purifies the air, reduces temperature, saves energy, increases biodiversity, and extends the lifespan of the roof. In addition, it improves people’s well-being and enhances the value of buildings.
No, a leakage is never caused by the green roof itself, but by roof coverings that are not waterproof or not root-resistant. Always check the quality of the roof covering beforehand. If you are unsure about its root resistance, it is recommended to install a root-resistant membrane as extra protection.
Yes, a green roof with Sedums is always hardy. In the winter, Sedums are at rest and they will turn red. Vegetation roofs with grasses, herbs and host plants will be dormant in the winter months, but will come into full bloom again in the spring. All plants used in our vegetation blankets for green roofs are perennial plants.


