DIRECT-GREEN
Ready-to-go vegetation blankets with mature Sedum plants for an instant green result from day one.
Sedum roofs form the perfect foundation for a futureproof roof. These green roof systems are quick to install, instantly green and easy to expand with water retention, solar panels or biodiversity. Every roof project a sustainable start.
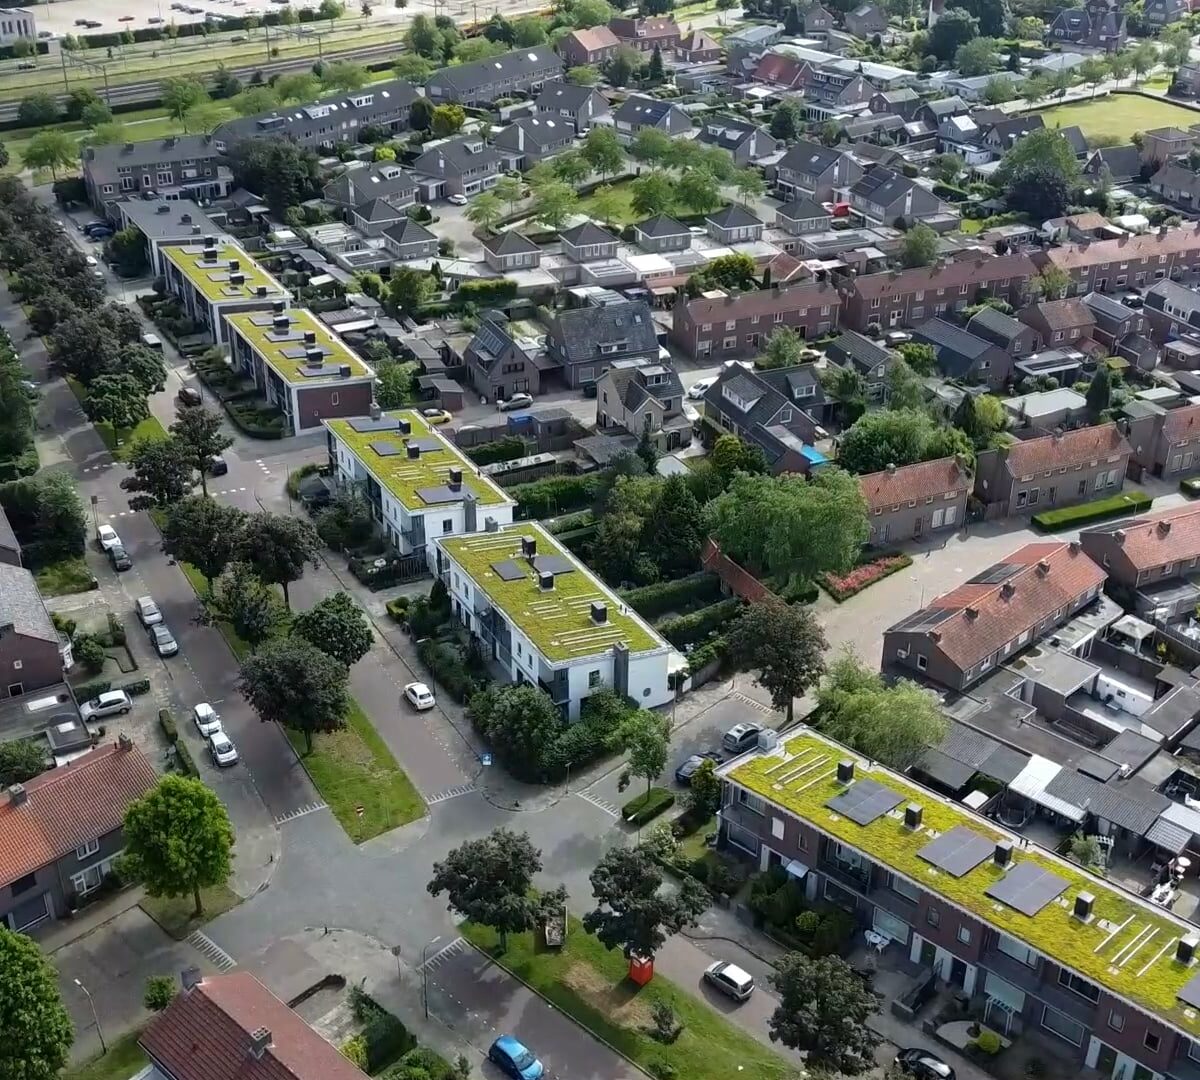
In urban areas, a green roof is much more than decoration. It connects people with nature, cools down the city and becomes a stepping stone for biodiversity. With Sedum roofs, you create a living layer that supports the environment and transforms rooftops into natural oases.
Ready-to-go vegetation blankets with mature Sedum plants for an instant green result from day one.
Small, large, flat or sloping, renovation or new build — Sedum roofs adapts to every project.
Advice, systems and project support. At Sempergreen we deliver the complete green roof package.
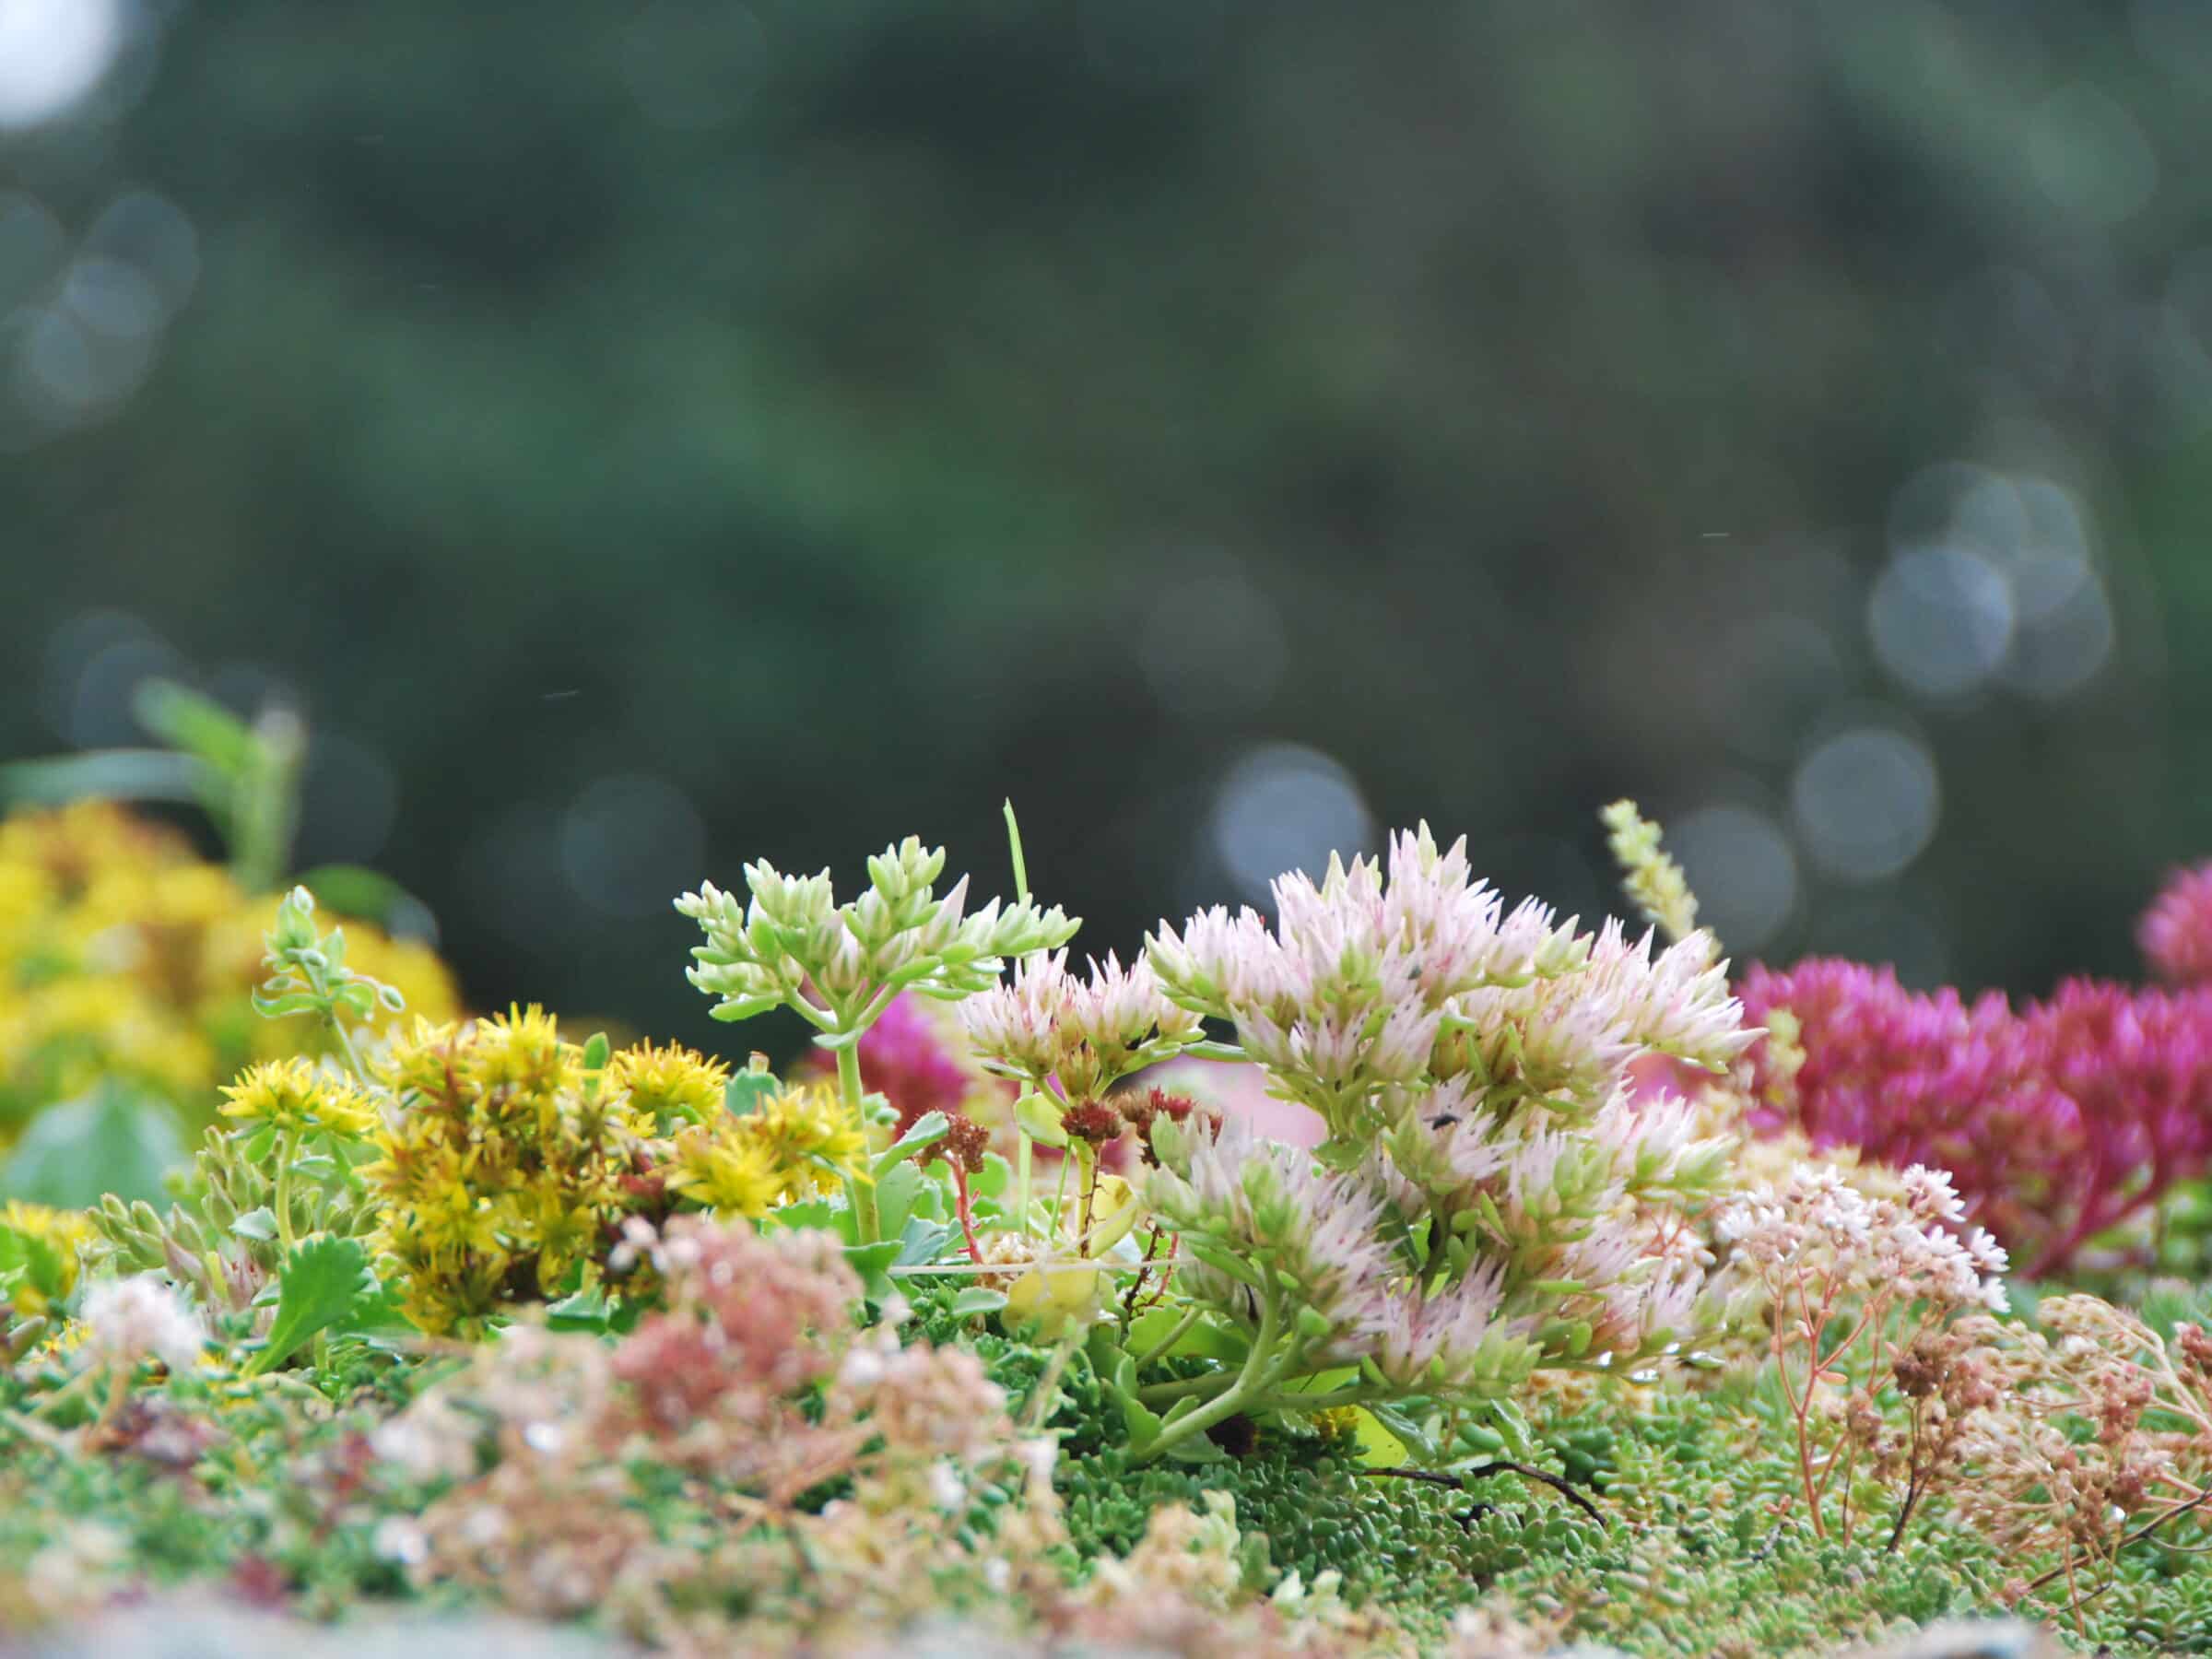
Sedum is the most popular choice for a green roof, and that’s no coincidence. These tough little plants can handle heat, cold and drought with ease. They don’t ask for much, yet give back a lot: cooler buildings, cleaner air and a greener view. And let’s be honest, every green roof is better than a grey one.
You can build a Sedum roof in different ways, depending on the roof and the slope. Flat, gently sloping, big or small. There’s always a version that fits. It’s lightweight, easy to maintain, and green all year round. That’s why the Sempergreen Sedum roofs is such a favourite, it brings life and colour even where space or structure is limited.

Too many options sprouting up? Don’t worry! We’ll help you find the right solution for your project. With just a few quick questions we’ll help you find the right approach and system for your project. You’ll receive customised advice to make green work for you.

Enjoy all the benefits of a green roof with the Sedum Original system. These living roofs have a natural cooling, air purifying and water buffering effect and they look amazing too. Every roof is different, which is why Sedum Original can be built up in several ways depending on the slope and load capacity. Whether your roof is flat or gently sloping, Sedum Original transforms it into a vibrant layer of greenery that stays beautiful throughout the seasons. Easy to install, low in maintenance and endlessly rewarding. A simple step towards a greener world. Available in different build ups for roof slopes from 0 to 20 degrees.
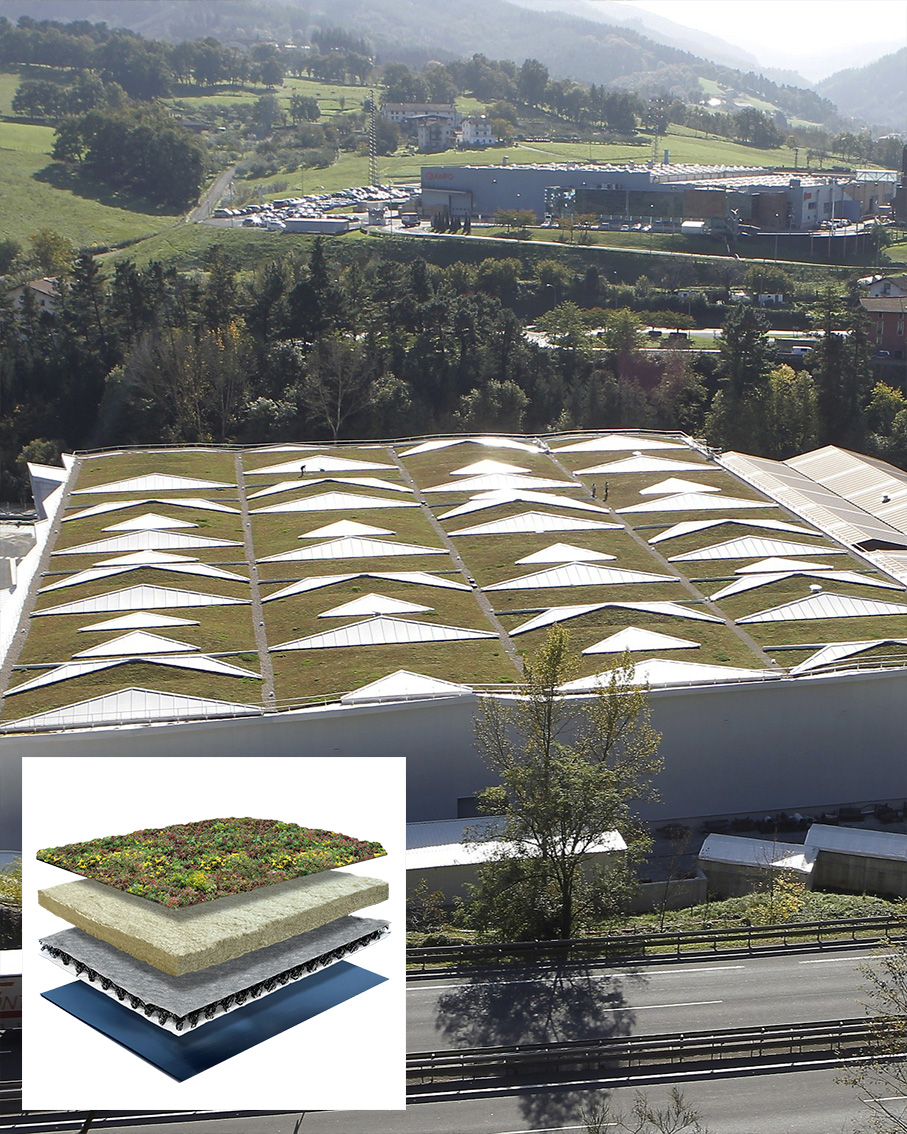
Not every roof can handle the weight of a traditional green roof, but with Sempergreen Sedum Lite, almost any building can go green. This lightweight system consists of a drainage layer, substrate roll and Sempergreen Sedum mix blanket, suitable for roofs with slopes up to 20 degrees. Perfect for carports, extensions and large commercial roofs, Sedum Lite combines low weight with high performance. The capillary action of the substrate ensures excellent water absorption and buffering, while the Sedum plants purify the air and add instant greenery. Available in different build ups for roof slopes from 0 to 20 degrees.

Looking for a simple way to green your roof? Sedum trays make installation effortless. Each tray is pre-cultivated with a lush mix of Sedum plants and can be placed directly onto the roof surface. The Click ‘n go, and it’s lightweight version Click ’n go Light Sedumtray are suitable for slopes up to 20 degrees and perfect for residential projects. Their compact size and quick placement make them ideal for roofs that are hard to reach or when time and convenience matter most.
Click here to find out how to easily install Sedum Original, Sedum Lite and Click n’ Go sedum trays.
Not sure whether Sedum trays or a green roof system with vegetation blankets are the right choice for you? Our experts are here to help. We’ll advise you on the best green roof solution for your specific project and guide you every step of the way.

Want to take biodiversity on your Sedum roof to the next level? Expand your green roof with the Sempergreen Biodiversity Package. Developed in collaboration with the Dutch Butterfly Conservation, this package includes carefully selected elements that enhance the habitat for birds, bees, butterflies and other insects. It provides nesting sites, shelter and food sources, allowing the complete life cycle of various species to take place right on your Sedum roof.
The main function of a Sedum roof is to provide food. But insects also need a habitat where they can breed and find shelter. It’s becoming harder for them to find year-round food sources. A Sedum roof helps, but adding a Biodiversity Package turns it into a permanent habitat.
Albert Vliegenthart, ecologist and programme manager at the Dutch Butterfly Conservation
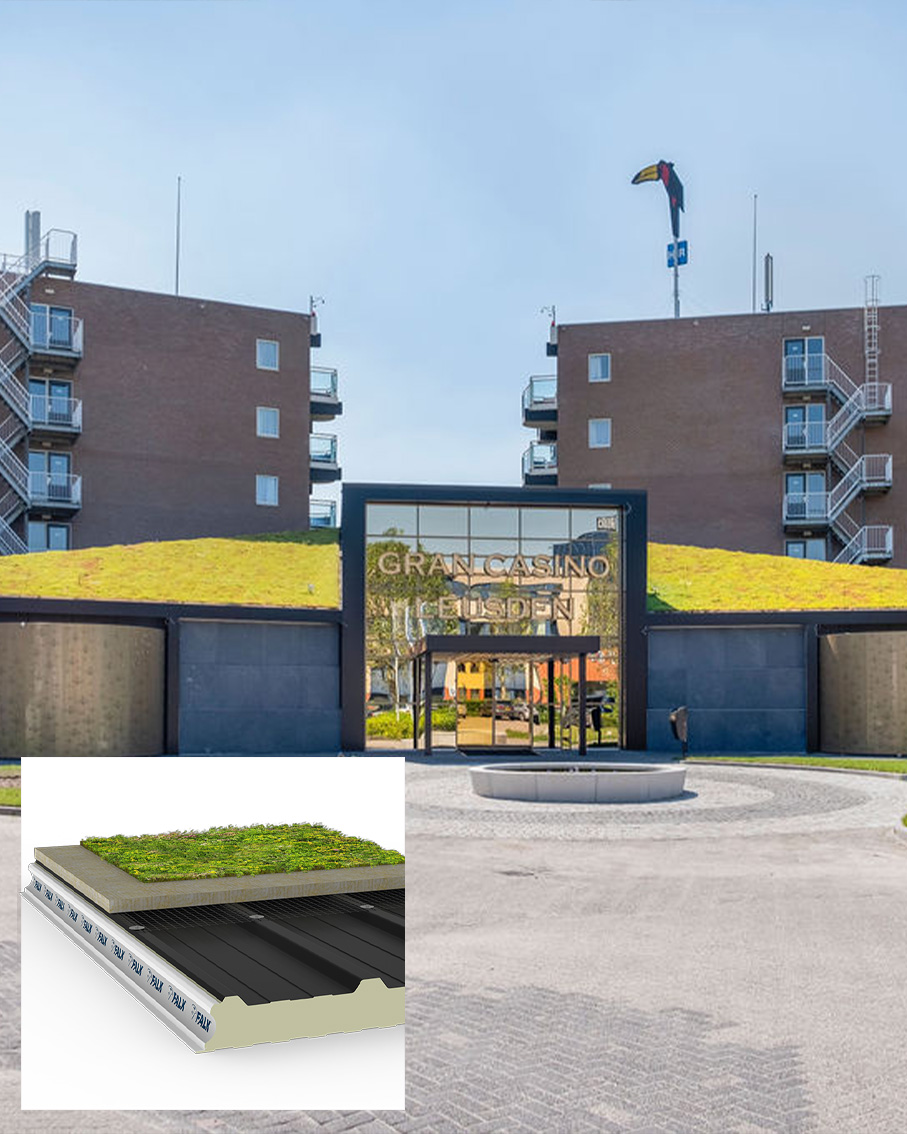
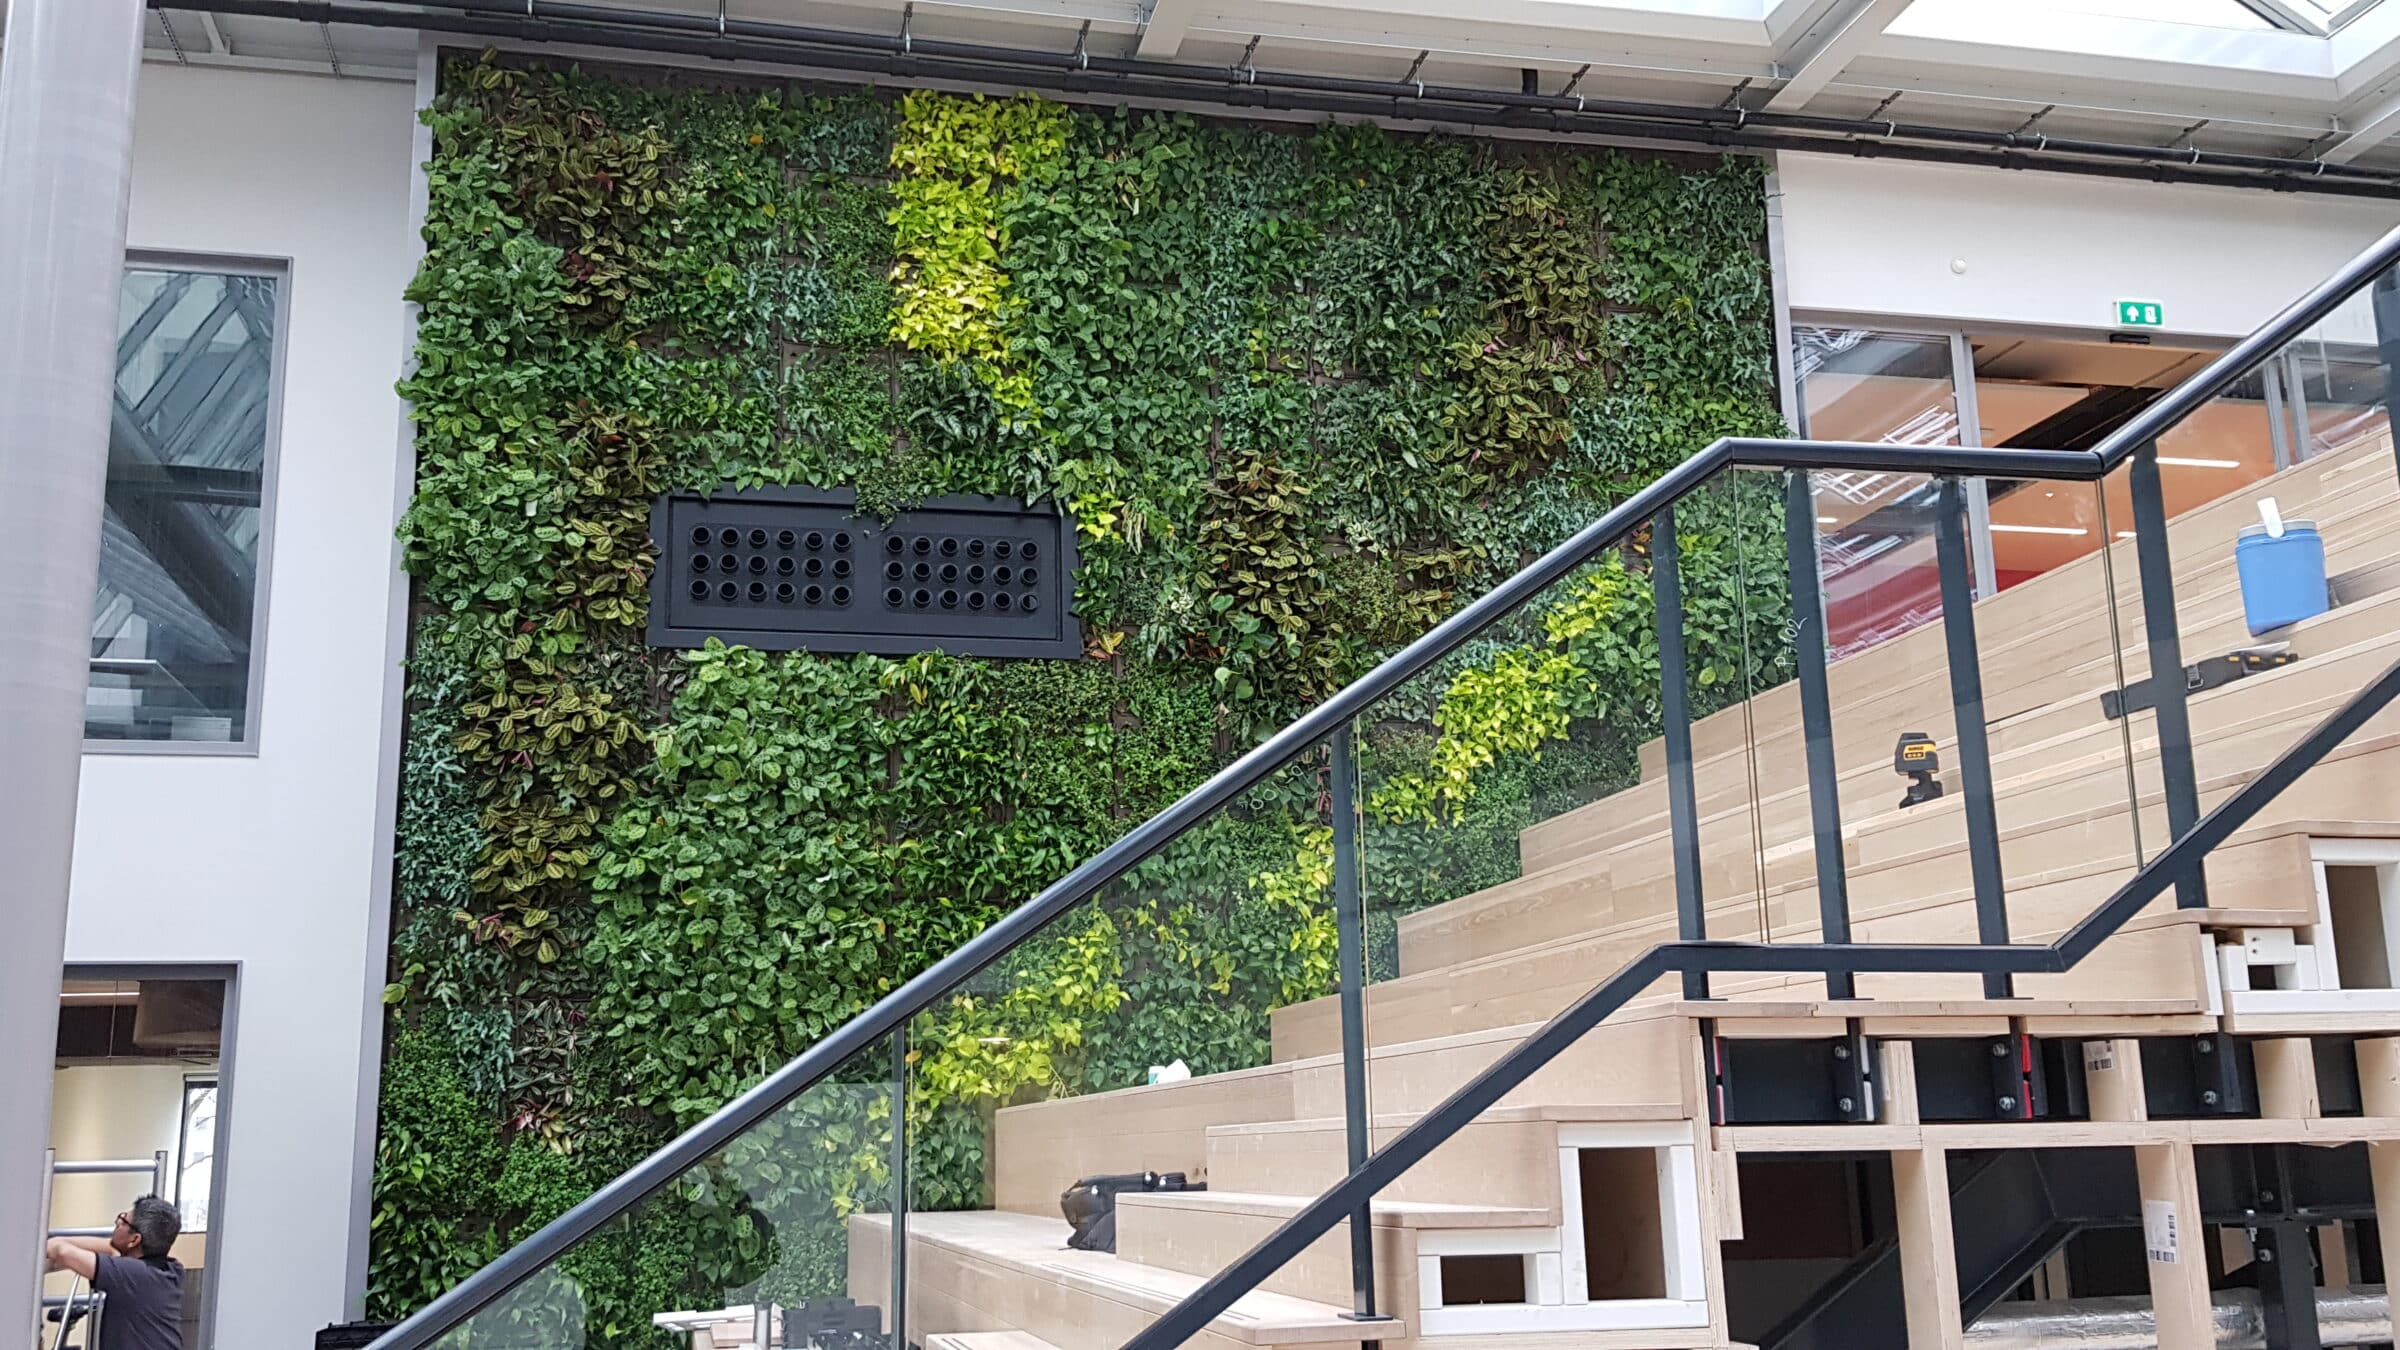
Circular thinking meets green innovation. Sempergreen and FALK Bouwsystemen, both Dutch market leaders in their fields, joined forces to develop future-proof roof and façade systems that combine insulation with vegetation. FALK’s circular sandwich panels form the perfect base for Sempergreen’s green roofs and living walls, creating building envelopes that are both energy-efficient and nature-inclusive. Together we’re translating circular ambitions into practical solutions. A collaboration that makes it easier than ever to design buildings that are green, durable and ready for 2050.
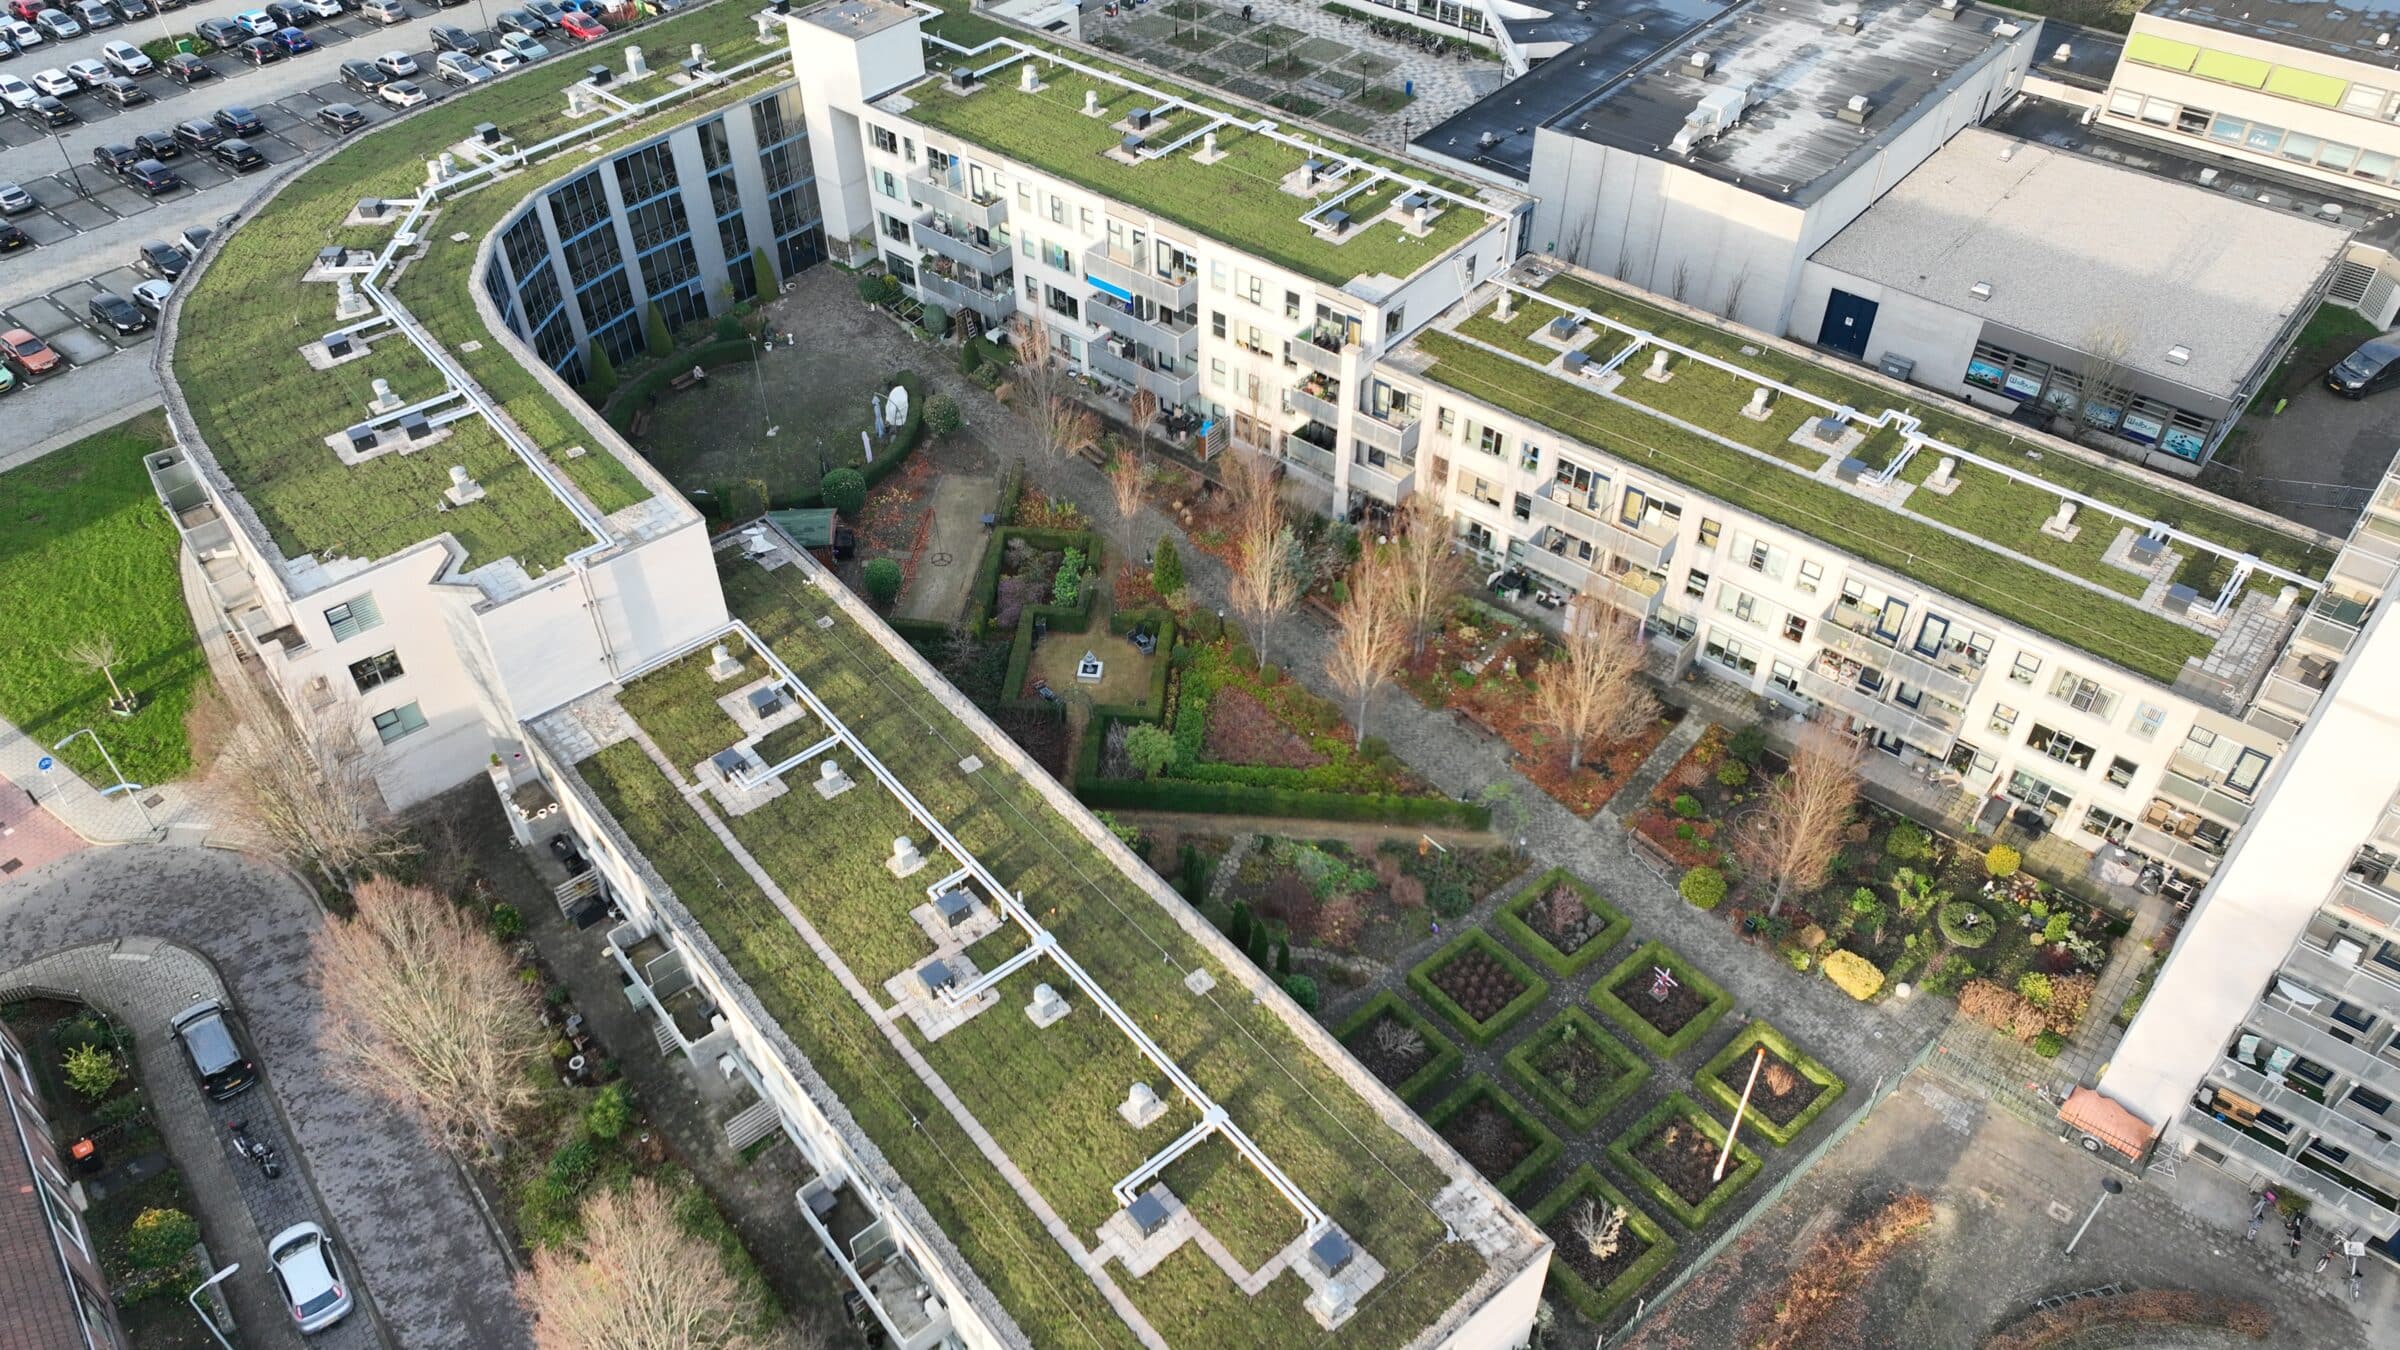
Our green roof systems transform rooftops into climate solutions. They retain rainwater, cool cities, enhance biodiversity and even boost solar performance. Each system is carefully engineered for durability and designed to make every square meter count for people and the planet.


Discover answers to the most common questions here. Is your question not listed? Our experts are happy to help you personally.
Not every roof covering is immediately suitable for a green roof. The covering must be root-resistant and comply with the applicable guidelines. For existing roofs that are not root-resistant, Sempergreen supplies a root barrier foil that can be installed on top of the roof covering.
It depends on your roof’s structural capacity—have a structural engineer verify it. Check the allowable permanent load (dead load) of your roof, then compare it with the saturated system weight. Light-weight systems (≈40 kg/m²) suit roofs with limited capacity (e.g., carports or extensions); biodiverse/semi-intensive systems can reach ≈225 kg/m². Also confirm a root-resistant waterproofing layer, drainage, slope, wind/snow loads, and safe access for maintenance.
Yes! More and more provinces, municipalities, water boards and other government agencies are providing subsidies to encourage the use of green roofs. Contact your local government’s subsidy desk for more information.
A green roof offers many benefits: it retains water, purifies the air, reduces temperature, saves energy, increases biodiversity, and extends the lifespan of the roof. In addition, it improves people’s well-being and enhances the value of buildings.
No, a leakage is never caused by the green roof itself, but by roof coverings that are not waterproof or not root-resistant. Always check the quality of the roof covering beforehand. If you are unsure about its root resistance, it is recommended to install a root-resistant membrane as extra protection.